Installing
-
2. Downloading Xeoma
Download Xeoma for openSUSE GNU/Linux
Save the File.
-
3. Installing Xeoma
Then to Install Xeoma for openSUSE
So first, Extract the Archive with:tar xvzf ~/Downloads/xeoma*.tgz
But if yuo are in Trouble to Find it out on Terminal then See: How to Access Downloads Folder from Browser.
Then to Setup it play:~/Downloads/xeoma.app -install -coreauto
Take note of the Password in the Terminal output!
The Binary is automatically stored under ~/bin/Xeoma/.
Where the Settings are in /usr/local/Xeoma.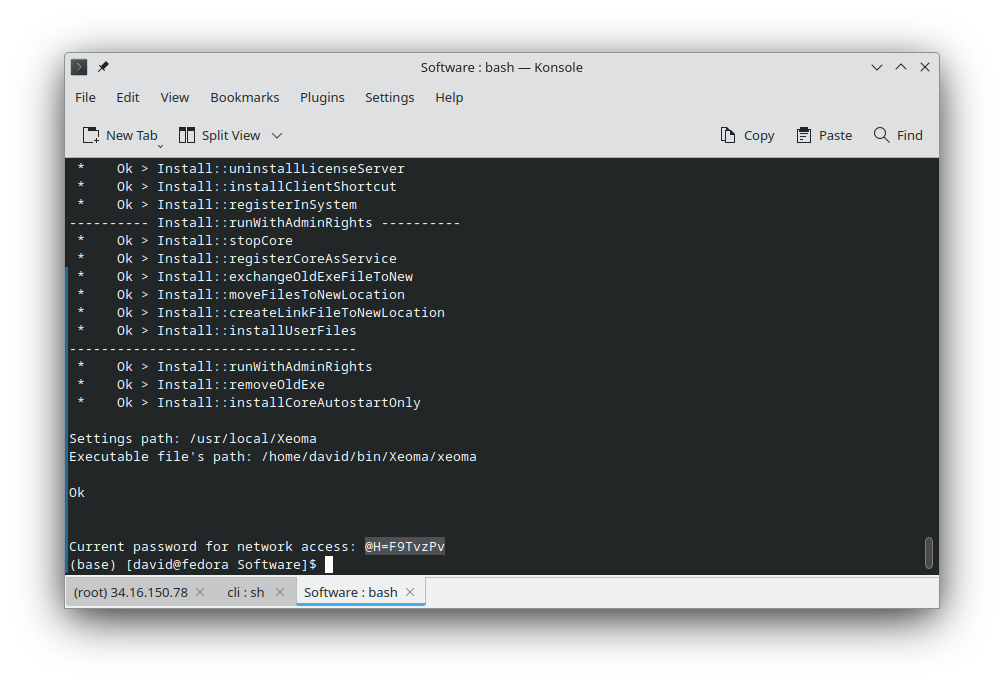
Next to amend the User’s Path:
echo "export PATH=$PATH:$HOME/bin/Xeoma/" >> ~/.bashrc
To Reload it simply run:
bash
By Default the Xeoma Service will Start automatically at Boot.
In case, to Stop it manually:sudo $HOME/bin/Xeoma/xeoma -stopservice
For further Insight about to Edit the Autostart Script see the Official Documentation.
Contents
