Installing
-
2. Pre-Installation Checks
Then Check KVM Virtualization is available
With:egrep -c '(vmx|svm)' /proc/cpuinfo
If in Output > 0 then your Processor support Hardware Virtualization!
Make sure virtualization is enabled in BIOS: Enable Intel VT/AMD-V Guide!Now again, Install the needed Tool:sudo apt install cpu-checker
And then Verify it:
kvm-ok
If it’s Good you will see:
INFO: /dev/kvm exists
KVM acceleration can be used
Finally, if the answer is negative you can still use KVM but only in a Slow mode…
-
3. Installing Dependencies
Then to Install Required Software
So the Required Packages:sudo apt install python3-pip ninja-build git libglib2.0-dev libfdt-dev libpixman-1-dev zlib1g-dev flex bison
Moreover, the Recommended ones:
sudo apt install git-email libaio-dev libbluetooth-dev libcapstone-dev libbrlapi-dev libbz2-dev libcap-ng-dev libcurl4-gnutls-dev libgtk-3-dev libibverbs-dev libjpeg*-dev libncurses5-dev libnuma-dev librbd-dev librdmacm-dev libsasl2-dev libsdl2-dev libseccomp-dev libsnappy-dev libssh-dev libvde-dev libvdeplug-dev libvte-2.91-dev libxen-dev liblzo2-dev valgrind xfslibs-dev
-
4. Downloading QEMU
Download QEMU for Kali GNU/Linux:
-
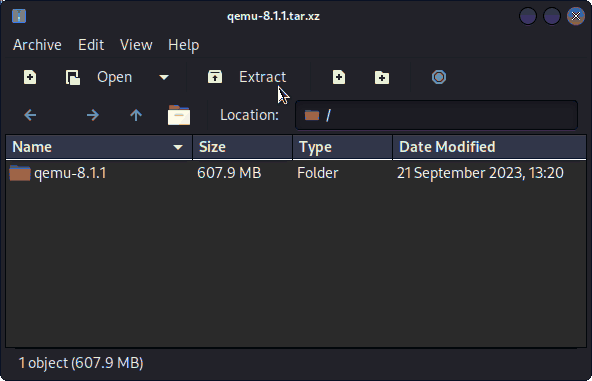
5. Extracting QEMU Archive
Then Extract QEMU into /tmp Directory
If it does Not Open automatically then Double-Click on File Manager
Or from Command Line:tar xvf ~/Downloads/qemu*.tar.xz -C /tmp/
(But if downloaded with Firefox it may be instead into /tmp/mozilla*)
Finally, if yuo are in Trouble to Find Out it on Terminal See: How to Access Downloads Folder from Browser. -
6. Installing QEMU
Then to Install QEMU on Kali
First, access the Download location by default with:cd ~/Downloads/quemu*/
But if you are in Trouble to Find it out on Terminal then See: How to Access Downloads Folder from Browser.
And then to Configure it play:./configure
Next, to Make it:
make
Or to do it Quicker using your full Computing power:
make -j $(nproc)
Now take a very Long Brake and just leave it achieving the 10000 Steps… :)
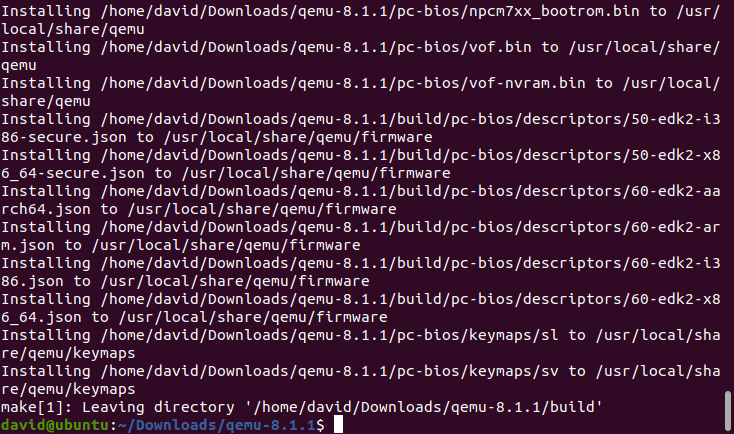
Finally, to Setup it just run:sudo make install

Congratulations, you are Done! :)
Contents