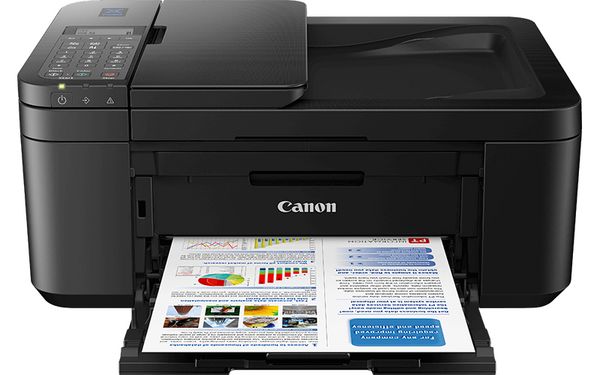
GNU/Linux Ubuntu Canon E4200/E4240/E4270 Printer Setup – Step by step Guide
How to Install Canon PIXMA E4200/E4240/E4270 Printer/Scanner on Ubuntu-based GNU/Linux desktops – Step by step Tutorials.
And the Canon PIXMA E4200/E4240/E4270 Driver Ubuntu Setup It’s quick and easy because it only involves running a few Basic Shell Commands.
Especially relevant: after the Driver Installation to achieve the Printer Setup follow guidance to Add Printer!
Possibly for more insight about How to Manage your Device see: Canon Printers Manuals Online.
Moreover, included in this Tutorial you find also instructions to Quick Start with Canon Scanning on Ubuntu.
Finally, this Guide is valid for all the Ubuntu-based Distros like:
- Linux Mint
- Zorin OS
- Lubuntu
- Elementary OS
- Kde Neon
- Pop_OS!
- Xubuntu
- Linux Lite
- Bodhi
- Kubuntu
- LXLE
- Trisquel
- Voyager Ubuntu
- feren OS
- Peppermint
- Linux Ultimate Edition

1. Launching Terminal
Open a Terminal Shell Emulator Window:
(Press “Enter” to Execute Commands)In case first see: Terminal Quick Start Guide.
2. Installing Dependencies
Then Install Required Packages
First, Update the Apt Repo Souces with:sudo apt update
And then play:sudo apt-get install cups libxml2 libglade2-0 libpng1* libtiff*
3. Downloading Driver
Download Canon E4200/E4240/E4270 Printer Linux Driver
Select the E4200/E4240/E4270 Printer .deb Driver.
Contents