GNU/Linux MX Canon G4210 Printer Setup – Step by step Guide
How to Install Canon G4210 Printer/Scanner on MX GNU/Linux desktop – Step by step Tutorial.
And the Canon PIXMA G4210 Driver MX Setup it’s quick and easy because it only involves running a few Basic Shell Commands.
Especially relevant: after the Driver Installation to achieve the Printer Setup follow guidance to Add Printer!
Finally, included in the guide you find also instructions to Quick Start with Canon Scanning on MX.

1. Launching Terminal
Open a Shell Terminal emulator window
(Press “Enter” to Execute Commands)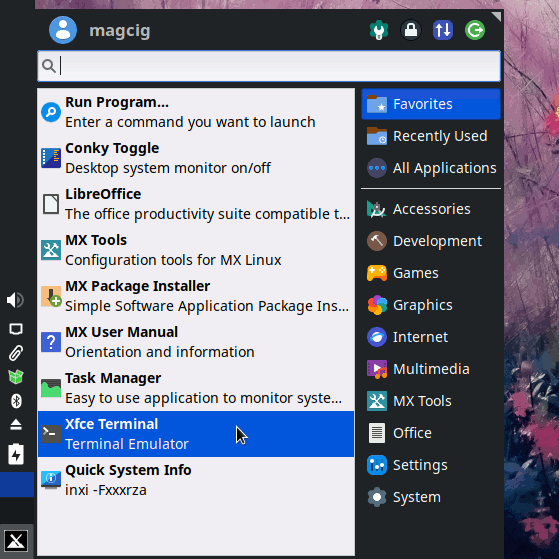
2. Installing Dependencies
Then to Install Required Packages
First, Update the Apt Repos sources:sudo apt update
If Got “User is Not in Sudoers file” then see: How to Enable sudo And then Execute:sudo apt-get install cups libxml2 libglade2-0 libpng1* libtiff*
3. Downloading Driver
Download Canon G4210 Printers Linux Driver
Select the Linux OS from Drop-Down
Then Grab the Packagearchive file!
Contents