Installing Printer
-
4. Extracting Driver
Extract into the /tmp directory
Possibly Double-Click on Driver from the File Manager: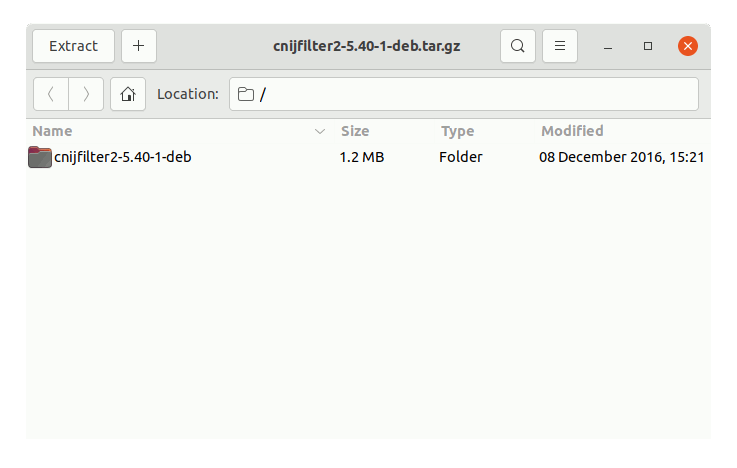
But if yuo are in Trouble to Find it out then See: How to Access Downloads Folder from Browser.
-
5. Ubuntu 22.04 Canon G4500 Printer/Scanner installation Driver
Now to Install Canon Printer Driver
Access the Target location:cd /tmp/cnijfilter*
Run the Installation script:
sudo ./install.sh
You could be asked to Connect and Turn On the Printer…
In case of Installation Issues see this Troubleshooting!
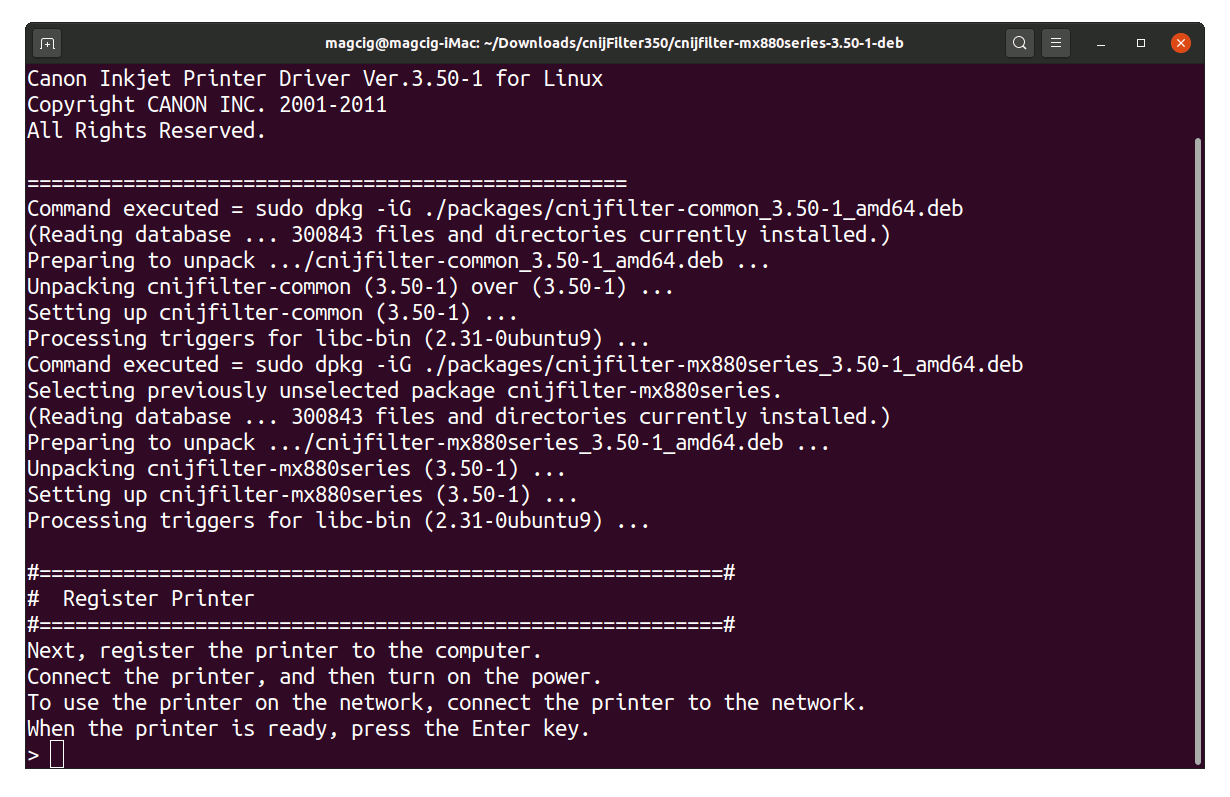
Now in case of Issue then try first to execute:cd packages
And then for 64-bit Systems:
sudo apt install ./*amd64.deb
Instead on 32-bit:
sudo apt install ./*i386.deb
-
6. Accessing Ubuntu Settings
Then Open Ubuntu Settings:
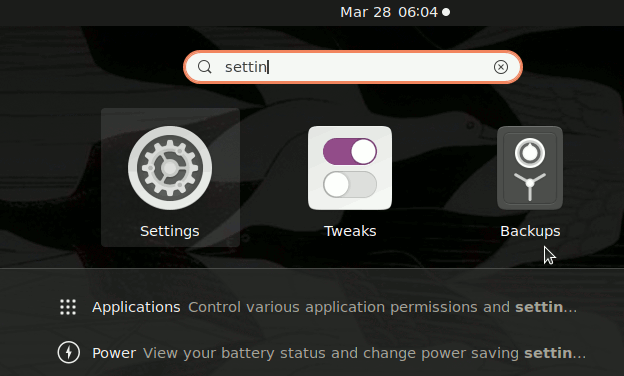
Simply Hit ‘Cmd’/’Win’ and Search for ‘Settings’.
-
7. Adding Printer
And Add Printer on Ubuntu
Choose “Printers”.
And then “Add Printer”.
So then Select the Printer that should be Found and Confirm to Add it.
But if Not Found then Verify the Printer is Connected and Turned On.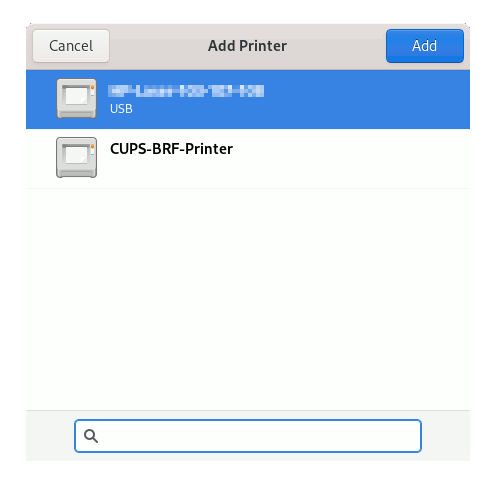
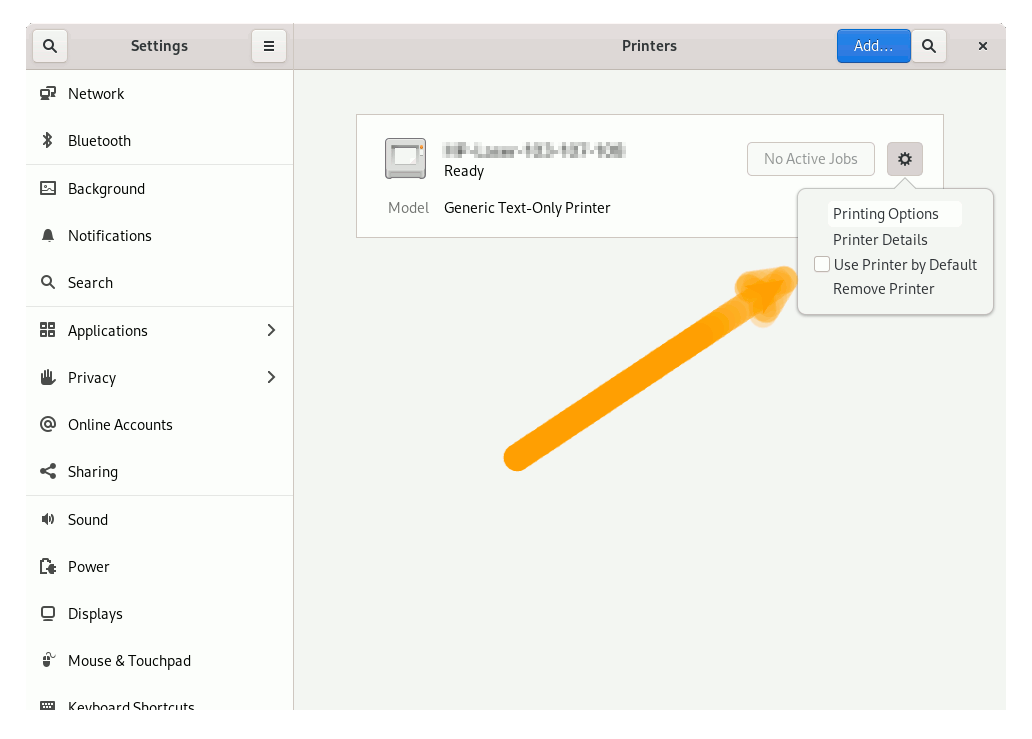
Next again Find and Choose the “Printer Details”:
Again Browse to “Install PPD File” Driver:
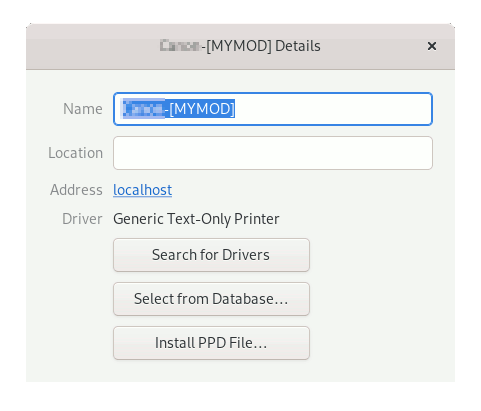
How to Find Printer PPD File Location on Linux
Or Browse for the “Printer Drivers Database”.
Finally, the Printer should be Successfully Installed and Working on System!
Contents