GNU/Linux RHEL 9 Canon PIXMA Printer Setup – Step by step Guide
Install Canon PIXMA Printer/Scanner on Red Hat Enterprise based 9 GNU/Linux desktop – Step by step Tutorial.
And the Canon PIXMA Setup on RHEL 9 is Quick and Easy, it involves at most some basic Shell commands execution.
Especially relevant: after the Canon PIXMA Driver RHEL Installation to achieve the Printer Setup follow the included instructions to Add Printer!
Finally, in case to know how you dispose of a valid Alternative to the Canon Proprietary Driver as the Gutenprint Driver Suite.

-
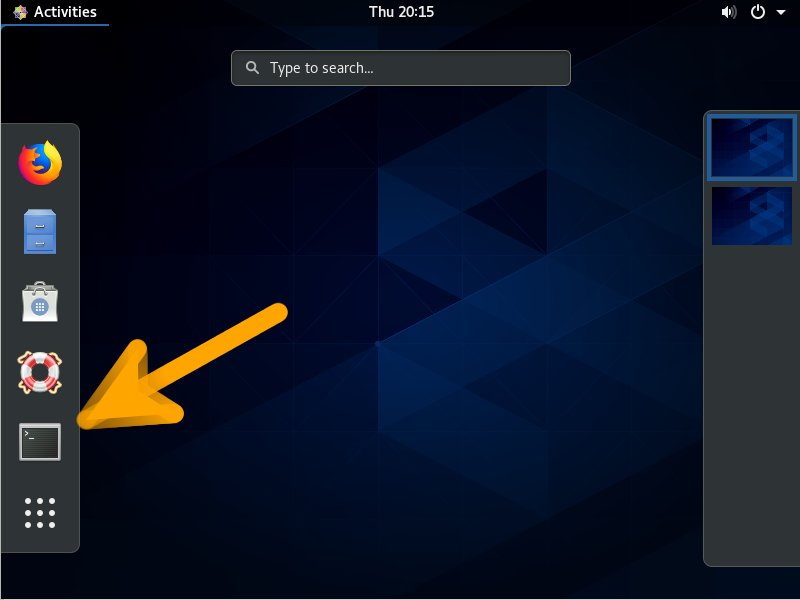
1. Launching Terminal
Open a Shell Terminal emulator window
(Press “Enter” to Execute Commands)
-
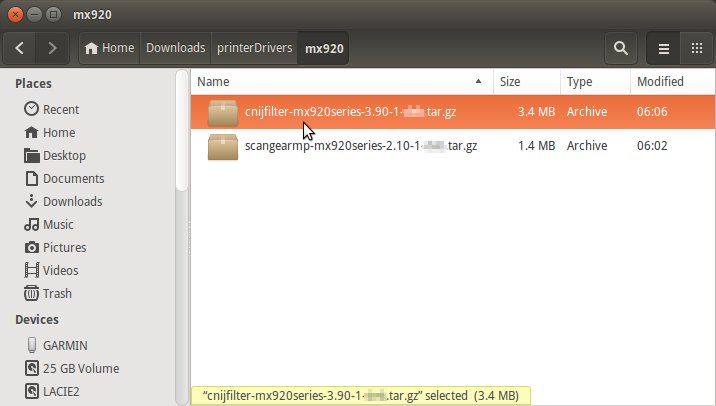
2. Downloading Canon PIXMA Printer Driver
Download Canon PIXMA Printers Linux Drivers
Search for “linux [myCanonModRounded]”
You may need to Round Down the Printer Model Number as here below…
Eg: for ‘mx472’ search for “linux mx470”
And for ‘MG2240’ search for “linux MG2200” -
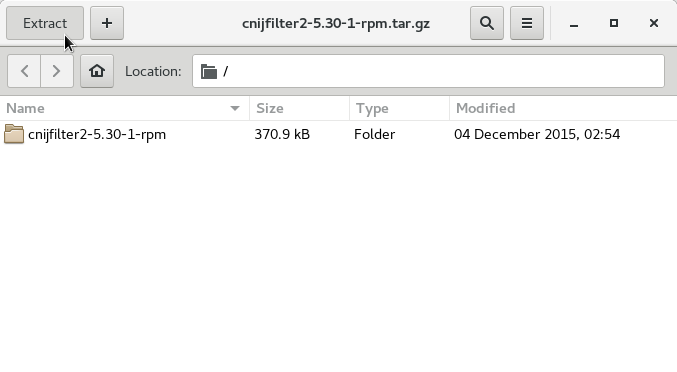
3. Extracting Canon PIXMA Printer Driver
Then Extract into /tmp directory
Possibly Double-Click/Right-Click and Open with Archive Manager:

-
4. Installing Canon PIXMA Printer Driver
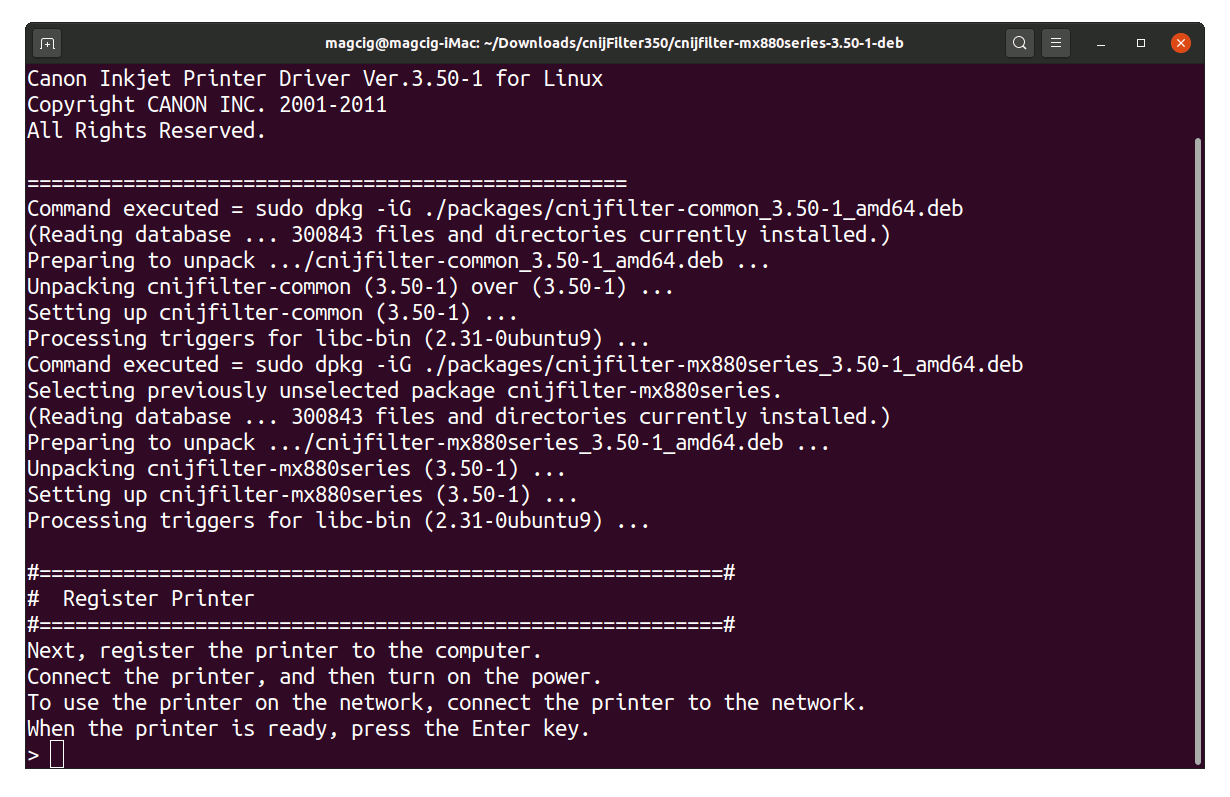
Then to Install Canon Printer Driver
First, try directly with the Installation Script:cd /tmp/cnijfilter*
sudo ./install.sh
During installation you may be Asked to Connect & Power On your Printer…

Now in case of Issue then try first to execute:cd /tmp/cnijfilter*rpm/packages
And on a 64-bit System play:
sudo yum install ./*64.rpm
Contents