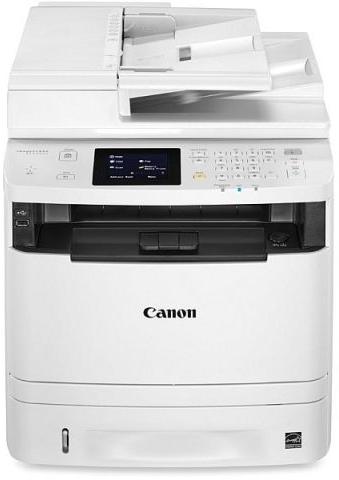
GNU/Linux Debian-Based Canon i-SENSYS MF411dw/MF416dw Printer Setup – Step by step Guide
The Tutorial Shows You Step-by-Step How to Install Canon i-SENSYS MF411dw/MF416dw Printer on Debian-Based GNU/Linux desktops – Step by step Tutorials.
And the Canon MF411dw/MF416dw Debian-Based Driver Installation procedure is Quick & Easy and simply involves the execution of some basic Commands on the Terminal Shell emulator.
For the Canon i-SENSYS Printers Debian Setup is recommended when available the default CQue Driver.
Elsewhere choose the UFRII Driver that is the 2nd version of UFR (Ultra Fast Render) functionally similar to Postscript and PCL.
Especially relevant: after the Driver Installation to achieve the Setup follow the included instructions to Add Printer.
Finally, this Setup is valid for all the Debian-based Distros like:
- Kali
- MX Linux
- Deepin
- Parrot
- antiX
- SparkyLinux
- Q4OS
- Vanilla OS
- Netrunner
- Voyager Debian
- MakuluLinux
- Elive
- LMDE
- Devuan (You may just need to Discover what’s the Parent Release)

1. Launching Terminal App
Open a Terminal Shell Emulator Window:
(Press “Enter” to Execute Commands)In case first see: Terminal Quick Start Guide.
If needed, first see: Terminal Quick Start Guide.
sudo apt update
Authenticate with the User Admin Pass.
If Got “User is Not in Sudoers file” then see: How to Enable sudo.2. Downloading Canon MF411dw/MF416dw Debian Driver
Download Canon MF411dw/MF416dw Debian Driver
Contents