GNU/Linux Ubuntu Mantic HP Printer Setup – Step by step Guide
How to Install HP Printer on Ubuntu Mantic 23.10 GNU/Linux desktop – Step by step Tutorial.
Especially relevant: the HP Printer/Scanner Driver should be already Installed on System, but to get the Latest Supported Features & Devices you need to Upgrade it!
Again, in case of any Issue with your Device you may try the Legacy Alternative: HP Printer HPIJS Driver.
Most noteworthy: after the Driver Setup to achieve the Printer Installation, follow instructions to Add Printer!
Finally, for the Multifunctional Models this guide includes detailed instructions about to Getting Started with HP Scannig on Ubuntu.

1. Launching Terminal
Open a Terminal Shell emulator window
Ctrl+Alt+t on desktop
(Press “Enter” to Execute Commands)
2. Downloading HP Printer Driver
Download HP Printer Driver Installer .run for Linux
3. Installing HP Printer Driver
Now to Install the Latest HP Printer Driver
First, access the Download location by default with:cd ~/Downloads
To Check it’s there List the contents with:ls . | grep hplip
The grep Command refine the output List showing only the Entries matching the Keyword.
But if you are in Trouble to Find it out on Terminal then See: How to Access Downloads Folder from Browser.
Give Execution Permission with:chmod +x hplip*.run
And the Run the Installer:sudo ./hplip*.run
Confirm to “Install as Root” to avoid potentials installation issues…
Then you can simply Choose “a” for the Automatic Setup.
In Case of Upgrade when Prompted Confirm ro Re-Install with “i”.
Then Follow the Installation Wizard on Terminal, Confirm with “y” and “a” for Automatic…
The Installer will Provide Automatically to Manage all the Software Dependencies!
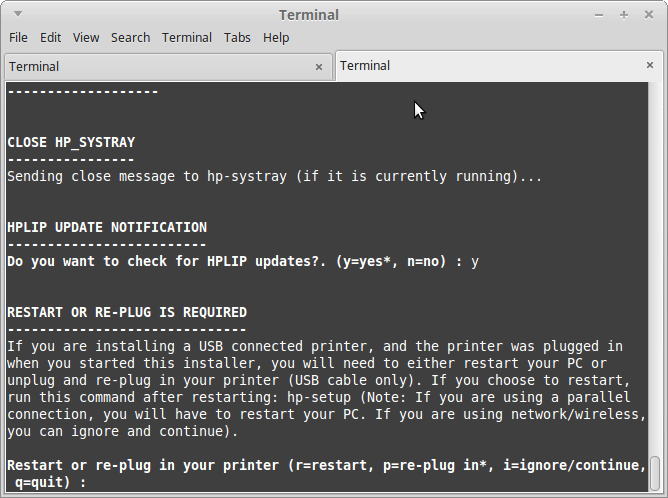
During Installation you may be Prompted about to Unplug and Re-Plug the USB Connected Printers:
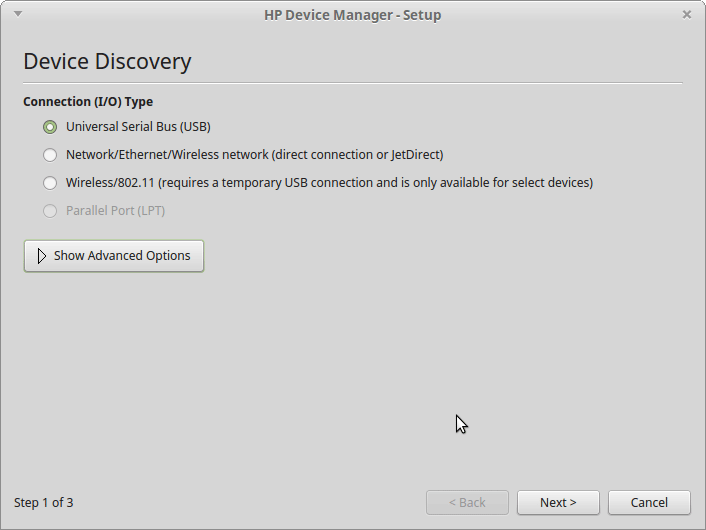
In any cases you can Plug-In a New HP Device simply by Running this Command:
sudo hp-setup
And then Following the Wizard…

Contents