GNU/Linux Parrot Scanner Quick Start Guide
How to Install Scanner Driver and Get Started Scanning in Parrot GNU/Linux desktops – Step by step Tutorials.
And the Scanner Parrot Driver Installation is Easy, and it involves only the execution of some Basic Shell Commands.
Because the Scanners dispose of a Devices Driver Installer for Linux that will Provide Automatically to Download and Install the needed Dependencies.
Especially relevant: Printer/Scanner Drivers & Software for Linux should be already Installed on System, but it’s recommended to get it freshly Updated to the Latest Release.
Finally, you find also included detailed Instructions about How to Quick Start Scanning.

-
1. Launching Terminal
Open a Shell Terminal emulator window
(Press “Enter” to Execute Commands)In case first see: Terminal Quick Start Guide.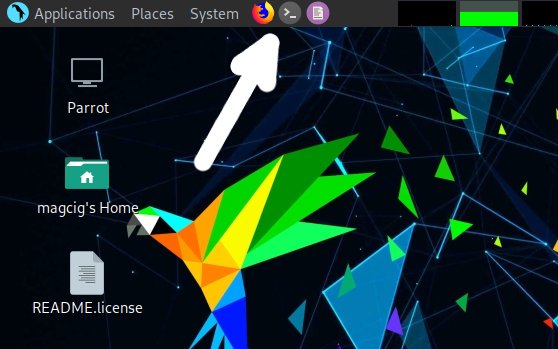
-
2. Installing Scanner Driver
How to Install Scanner on Parrot
Contents