Installing
-
3. Installing ProtonVPN
Then to Set up ProtonVPN on Ubuntu
First Access the Target, usually in the Downloads folder:cd && cd Downloads
To Check is there do:
ls . | grep protonvpn*
The grep Command Refine the output List showing only the entries Matching the Keyword.
But if you are in Trouble to Find Out it on Terminal See: How to Access Downloads Folder from Browser.
And then to Setup ProtonVPN Repo play:sudo apt install ./protonvpn*.deb && sudo apt update
Authenticate with the User Admin Pass.
Next to Install ProtonVPN run:sudo apt install protonvpn
Finally, to enable it Reboot with:
sudo reboot
-
4. Enabling System Tray Icon
(Optional) To Enable ProtonVPN System Tray Icon
Install the required Software:sudo apt install gnome-shell-extension-appindicator gir1.2-appindicator3-0.1
You may be asked to choose your default Display Manager, to look up it:
grep '/usr/s\?bin' /etc/systemd/system/display-manager.service
In the Output you’ll find it.
-
5. Launching ProtonVPN
Finally, Launch & Enjoy ProtonVPN
From Shell simply with:protovpn
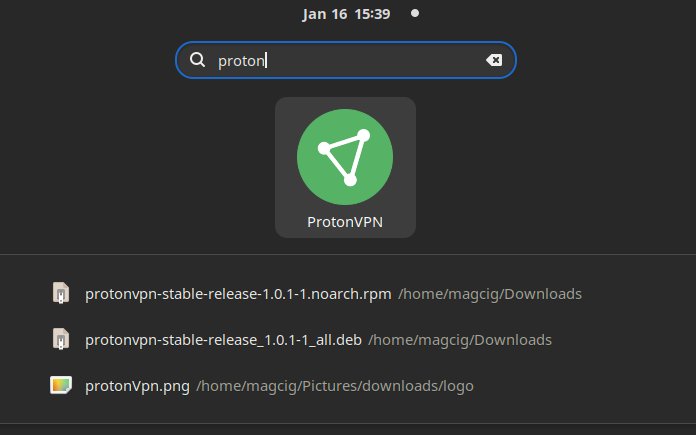
Or better, make Use of the desktop Launcher:
-
6. Getting Started Guide
Getting Started with ProtonVPN for Ubuntu GNU/Linux
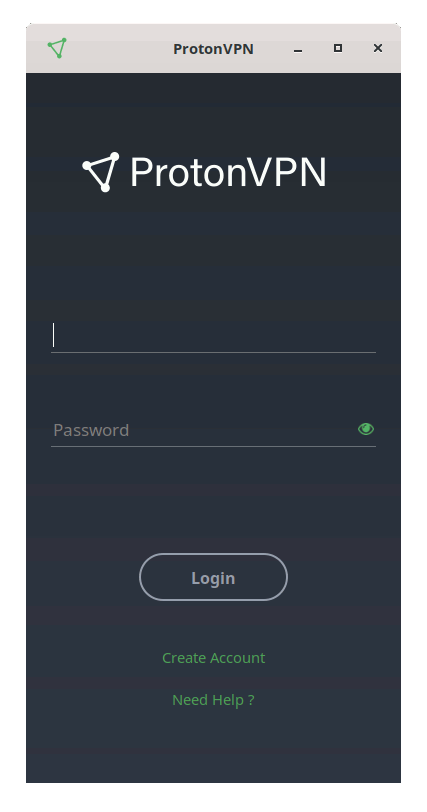
First, Login with your Account Credentials:
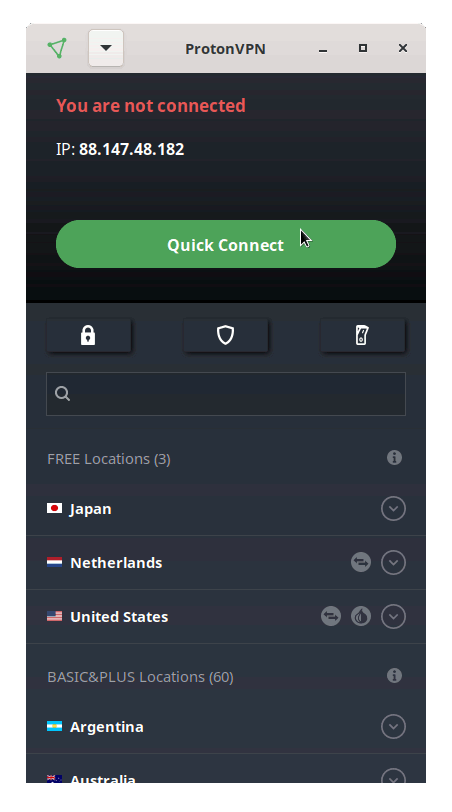
And then you’ll easily find the Way to Connect by the “Quick Connect” Button:
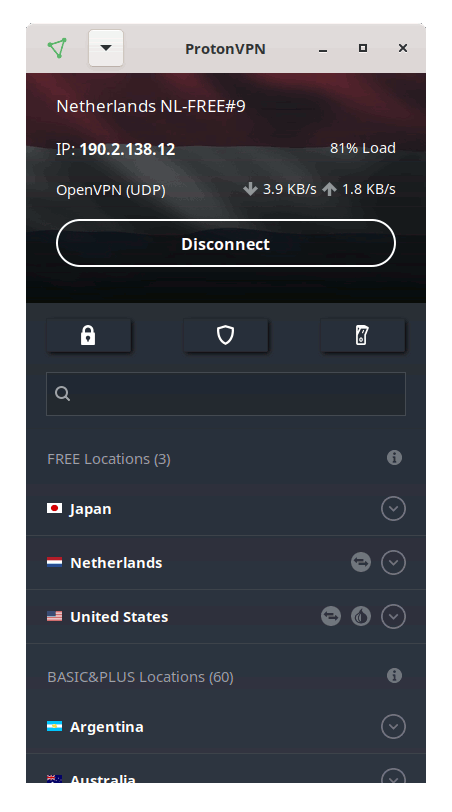
Finally, enjoY your Private VPN Browsing ;)
So Now I’m truly Happy if My Guide could Help you to Quick Start with ProtonVPN on Ubuntu 24.04 Noble!
Contents