How to Install Printer
-
3. Installing FUJIFILM Printer Driver
Now to Install FUJIFILM Printer Driver for Ubuntu
First, access the Download location by default with:cd ~/Downloads
To Check it’s there List the contents with:
ls . | grep fflinux
The grep Command refine the output List showing only the Entries matching the Keyword.
But if you are in Trouble to Find it out on Terminal then See: How to Access Downloads Folder from Browser.
Then to Extract the Zip Archive.
Possibly Double-Click/Right-Click on Package and Open with Archive Manager:

Or from Command Line:unzip ~/Downloads/fflinux*.zip
Again if needed access the target folder:
cd fflinuxprint*
Last, to Setup it play:
sudo apt install ./fflinuxprint*.deb
-
4. Accessing Ubuntu Settings
Then Open Ubuntu Settings
Hit Cmd/Win to start Searching: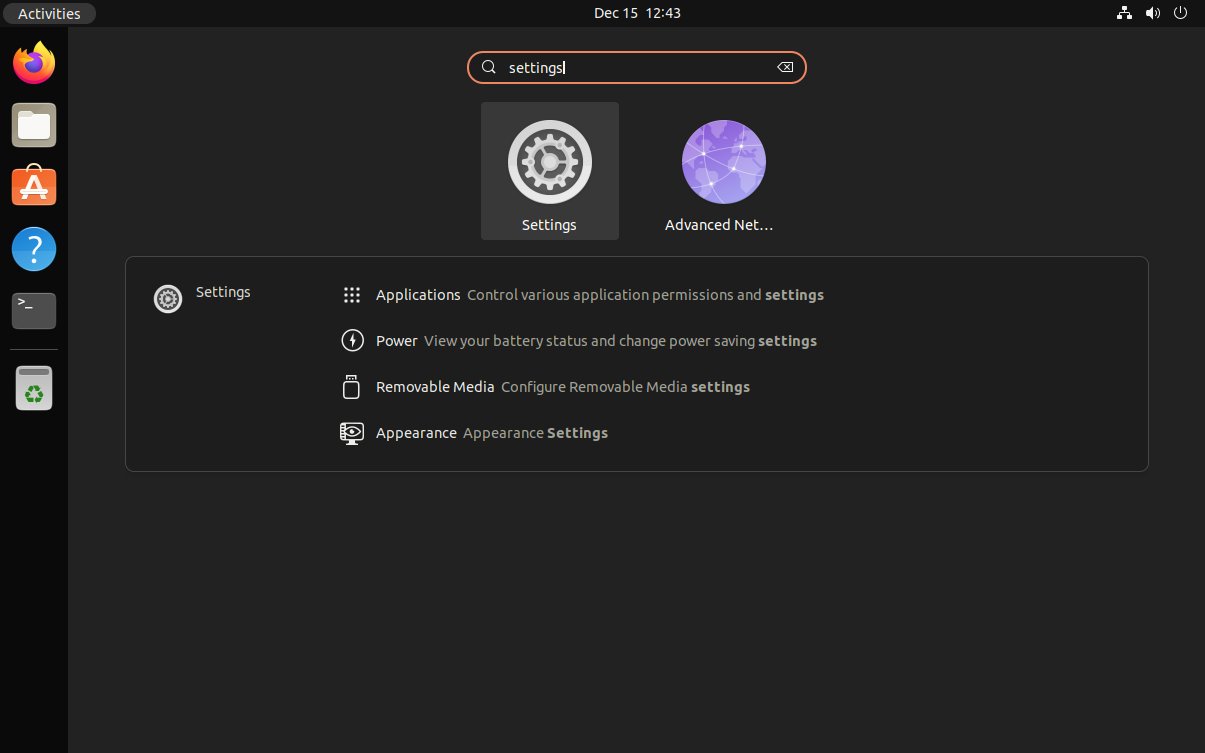
For the other Ubuntu-Based OSes see: How to Add Printer on GNU/Linux desktops
-
5. Adding Printer
And Add Printer on Ubuntu
Choose “Printers“: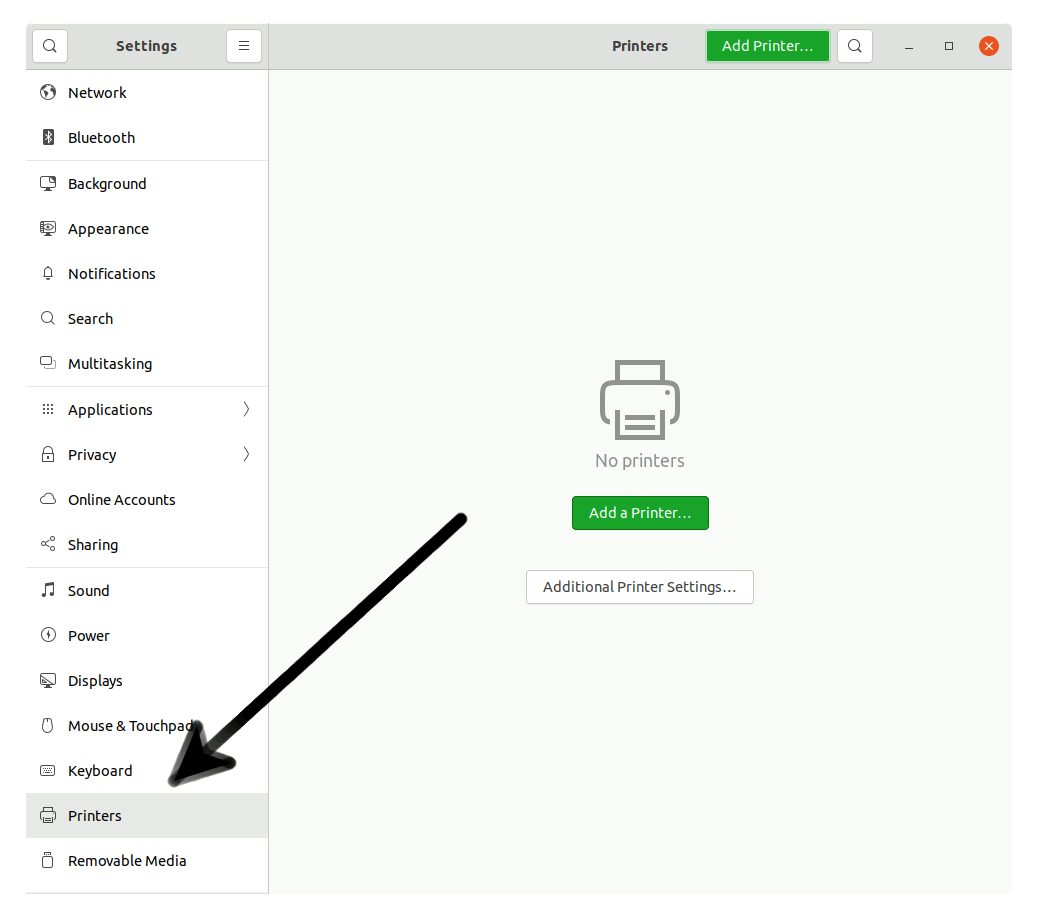
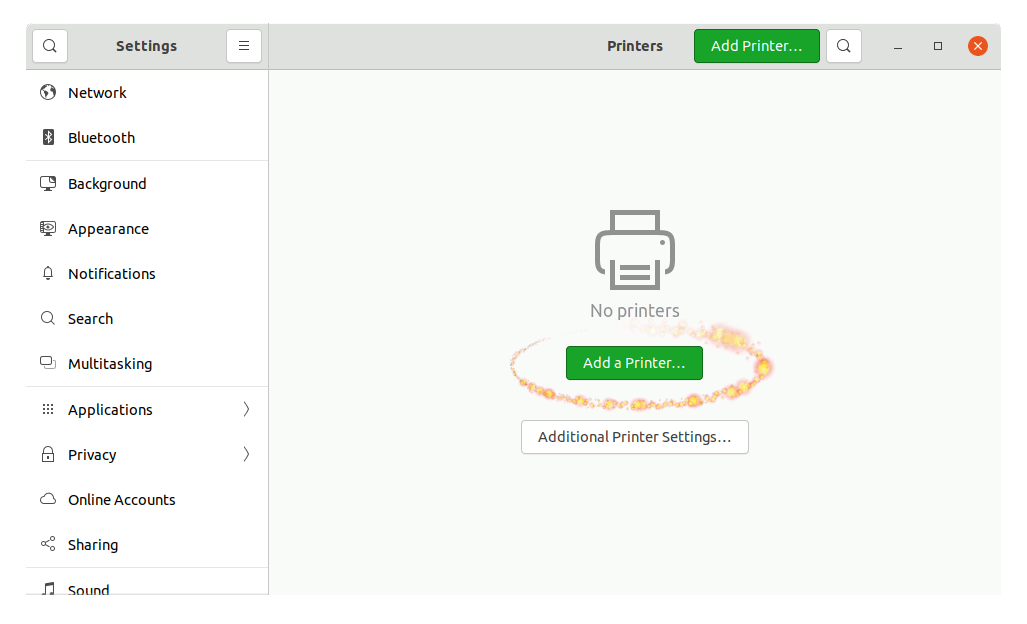
And then “Add Printer”:
So then Select the Printer that should be Found and Confirm to Add it.
But if Not Found then Verify the Printer is Connected and Turned On.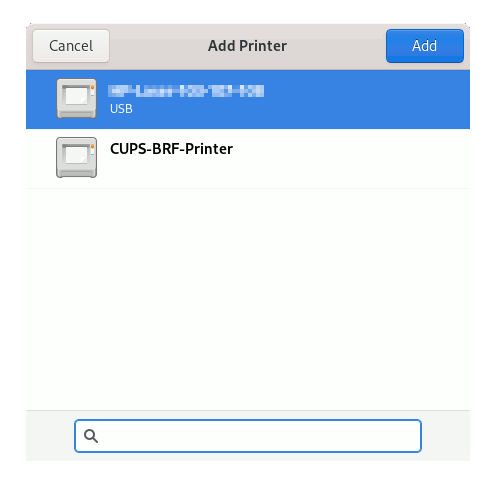
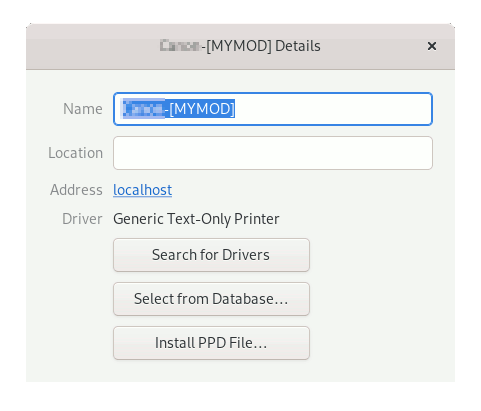
Next again Find and Choose the “Printer Details”:
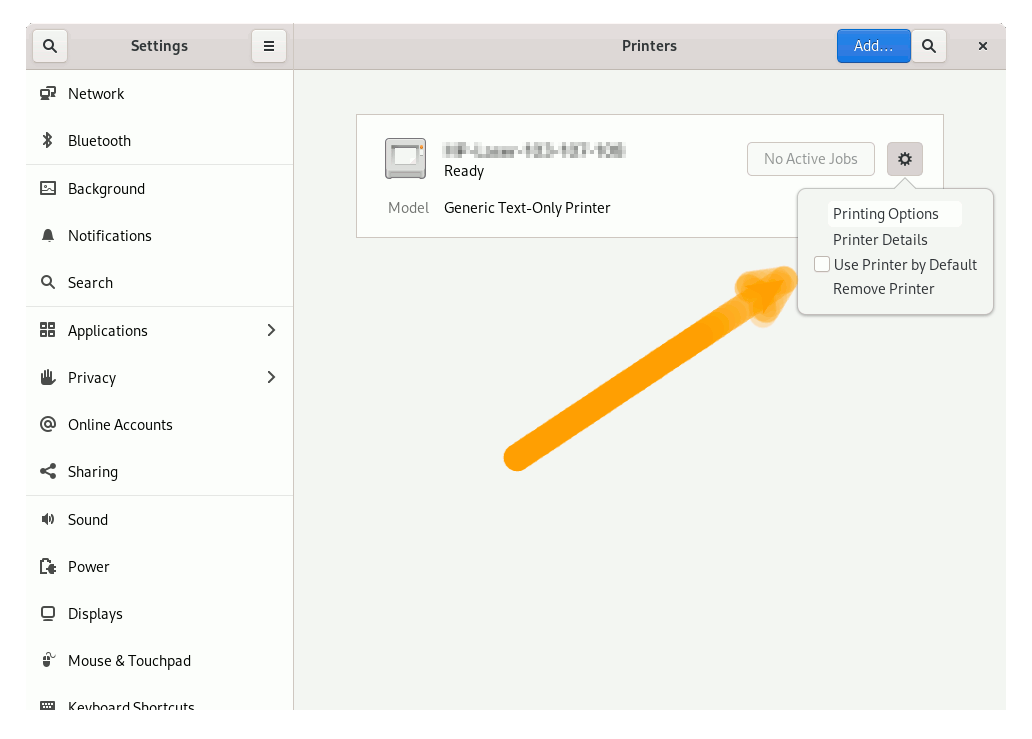
Again Browse to “Install PPD File” Driver:
How to Find Printer PPD File Location on Linux
Or Browse for the “Printer Drivers Database”.
Finally, the Printer should be Successfully Installed and Working on System!
In case of issue see the included Printer Quick Start Docs.
Contents