Installing OneDrive Client on GNU/Linux Ubuntu 24.04 – Quick Start Guide
How to Install OneDrive Client on Ubuntu 24.04 Noble LTS GNU/Linux desktop – Step by step Tutorial.
This powerful and highly configurable OneDrive Client works on all major Linux distributions, FreeBSD, and even as a Docker container.
It supports both one-way and two-way sync, securely connecting to Microsoft OneDrive services.
Main Features:
- State caching
- Real-time local file monitoring via inotify
- Real-time syncing of remote changes via webhooks
- Upload/download validation for data integrity
- Resumable uploads
- Support for OneDrive for Business (Office 365)
- Shared folder support (Personal & Business)
- SharePoint and Office365 Shared Libraries
- Desktop notifications (libnotify)
- Dry-run mode to preview config changes
- Accidental deletion prevention after reconfiguration
- Support for National cloud deployments (e.g. US Gov, Germany, China)
- Support for single and multi-tenant apps
- Traffic rate limiting
If you’re upgrading from the Skilion Client or facing issues, see the Developer’s GitHub Page.
This guide also includes detailed steps for Getting Started with OneDrive on Ubuntu.

1. Launching the Terminal
Open a Terminal window:
Press Ctrl+Alt+T on your desktop
(Then press “Enter” to execute each command)If you’re new to Terminal, check out the Terminal Quick Start Guide.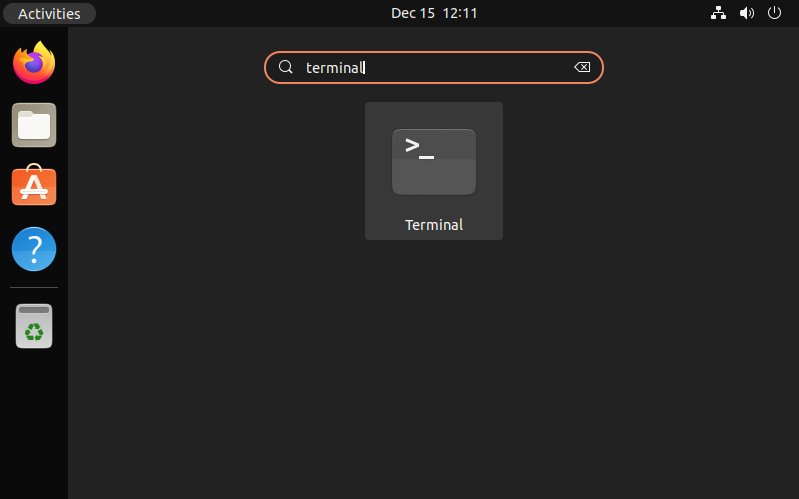
Contents