Step-by-Step Guide to Creating a Linux Virtual Machine with KVM and QEMU
Creating a Linux virtual machine (VM) with KVM and QEMU is a powerful, flexible, and high-performance solution for virtualization. Unlike traditional virtualization tools, KVM leverages hardware acceleration, making it far more efficient and faster, offering native-level performance.
Why Choose KVM/QEMU?
KVM (Kernel-based Virtual Machine) is built directly into the Linux kernel, enabling it to provide performance comparable to that of hardware virtualization. When paired with QEMU, which provides system emulation, KVM and QEMU together create a robust virtualization stack with advanced features such as device passthrough and full system emulation.
Better Performance
The combination of KVM and QEMU delivers outstanding performance for your virtual machines. Since KVM uses hardware-assisted virtualization, it significantly reduces overhead compared to other solutions. This leads to faster and smoother operation, especially for resource-intensive tasks such as running multiple VMs or handling large applications.
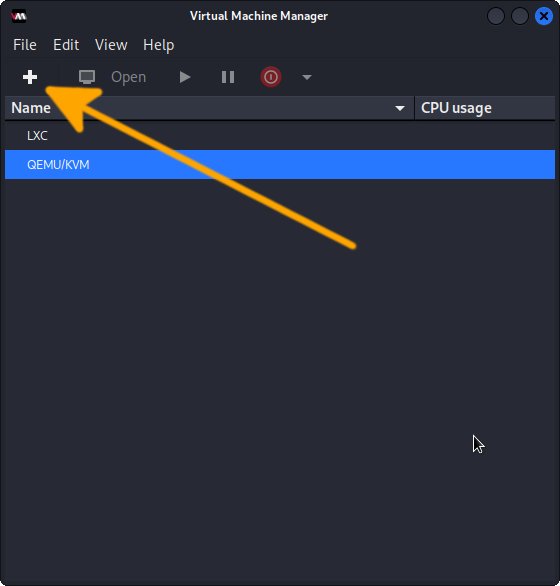
Easy Management with Virt-Manager
Virt-Manager is an excellent graphical interface for managing virtual machines created with KVM and QEMU. It provides an easy-to-use platform to create, configure, and monitor virtual machines, making it an ideal tool for both beginners and advanced users. Virt-Manager simplifies complex tasks like network configuration, storage management, and resource allocation, while still providing detailed control over your VMs.
Flexible and Open-Source
Both KVM and QEMU are open-source, giving you complete control over your virtualization environment. The ability to customize your setup and adapt it to your needs is one of the key advantages over proprietary solutions. Additionally, Virt-Manager is open-source and freely available, making it a cost-effective solution for Linux virtualization.
Widely Supported and Versatile
KVM and QEMU are supported across most Linux distributions, making them easy to integrate into almost any system. Whether you’re deploying a personal VM setup or managing an enterprise-grade environment, KVM and QEMU offer the scalability and flexibility required for a variety of use cases. Virt-Manager makes the entire process more accessible, offering a user-friendly interface for managing even the most complex virtualized environments.
Why Switch to KVM/QEMU?
Switching to KVM and QEMU for your virtualization needs not only improves the performance of your virtual machines but also provides greater flexibility and control. Whether you’re looking to create a simple VM for development or a complex multi-VM network, KVM and QEMU offer all the tools you need for efficient and scalable virtualization. With Virt-Manager, managing your virtual environment becomes easier and more intuitive than ever.

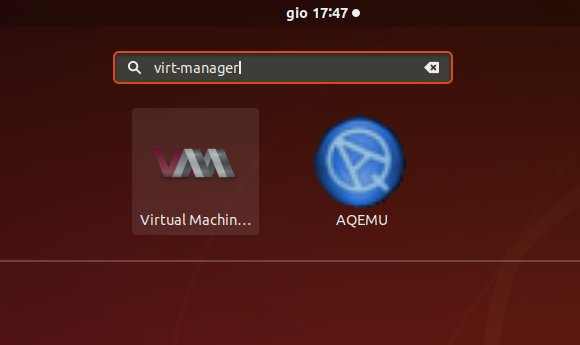
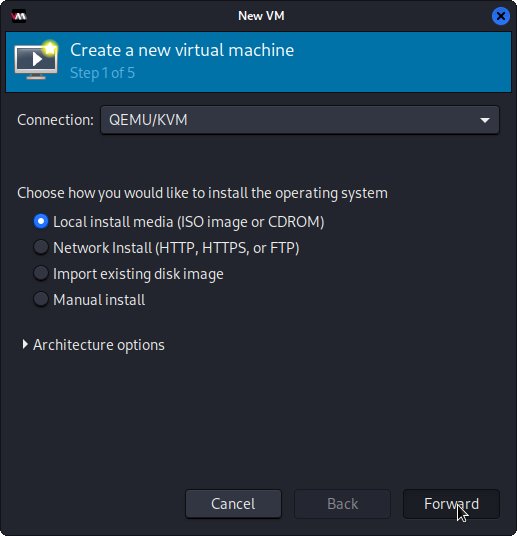
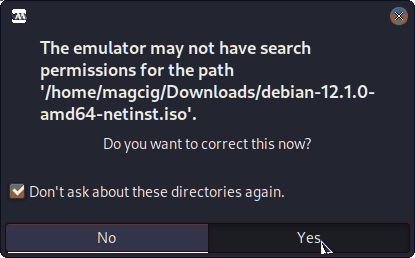
1. Installing KVM
How to Install KVM/QEMU on GNU/Linux
KVM Linux Setup Guide