Installing
-
3. Extracting Hadoop
Then Extract into /tmp
Possibly Double-Click/Right-Click and Open with Archive Manager: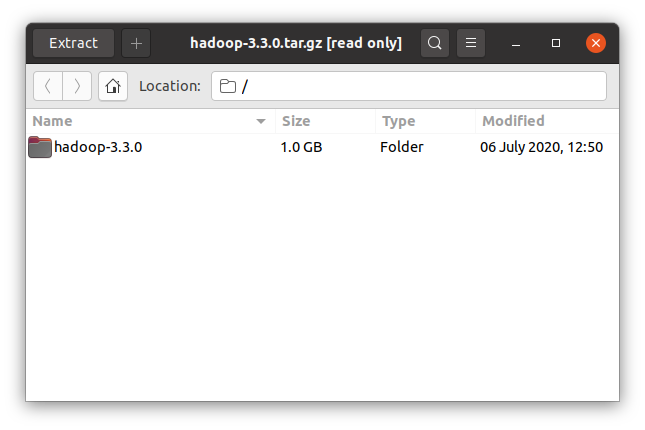
Or from Shell:
tar xvzf *hadoop*tar.gz -C /tmp
-
4. Installing Hadoop
And to Install Apache Hadoop
Get SuperUser Privileges (This simply to make shorter the command’s series):sudo su
If Got “User is Not in Sudoers file” then see: How to Enable sudo
Then Switch the contents with:mv /tmp/hadoop* /usr/local/
Moreover, make an hadoop symlink directory:
ln -s /usr/local/hadoop* /usr/local/hadoop
-
5. Setting Up Directories
Prepare the Needed Hadoop Directories
First, Create the Logs Directory:
mkdir -p /usr/local/hadoop/logs
Grant Full Permissions for Debugging:
Now Create the Cache Directory:
mkdir -p /usr/local/hadoop/cache/hadoop/dfs/name
mkdir -p /usr/local/hadoop/cache/hadoop/dfs/data
Give Full Permissions (or restrict later):
Optionally, Create a Dedicated Temporary Directory:
mkdir -p /usr/local/hadoop/tmp
Set Ownership to Current User (very important!):
sudo chown -R $USER:$USER /usr/local/hadoop
-
6. Installing Java JDK
How to Install Required Java JDK 8+ on Fedora
Warning: Java 8 is recommended, but Java 9+ works with extra flags — setup follows.
-
7. Setting Up Variable
Set JAVA_HOME in Hadoop Env File
First, Make the Conf directory:mkdir /usr/local/hadoop/conf
And then Make an Env file:
nano /usr/local/hadoop/etc/hadoop/hadoop-env.sh
So now Amend or Append:
export JAVA_HOME=[oracleJdkPath]
Change [oracleJdkPath] with the output of:
readlink -f "$(which javac)" | sed 's:/bin/javac::'
Ctrl+x to Save & Exit from nano Editor :)
Eclipse Hadoop Integration with Free Plugin.
Contents