GNU/Linux Ubuntu 24.04 Installing GlassFish – Step by step Guide
How to Install GlassFish 7 Server on Ubuntu 24.04 Noble LTS GNU/Linux desktop/server – Step by step Tutorial.
And Eclipse GlassFish for Ubuntu Noble provides a Complete Application Server which serves as the Reference Implementation for the Jakarta EE Specification.
Moreover, Eclipse Glassfish includes a Complete Administration Console, Clustering Support, and other Developer and Production focused Tools and Features.
Especially relevant: the Only Requirement is an Oracle Java JDK 8+ Installation.
Finally, to the article Bottom you Find a Link to Quick Start with GlassFish Jakarta EE 9 Server.

-
1. Accessing Shell
Open a Shell Terminal emulator window
Ctrl+Alt+t on desktop
(Press “Enter” to Execute Commands).Or Login into Server Shell.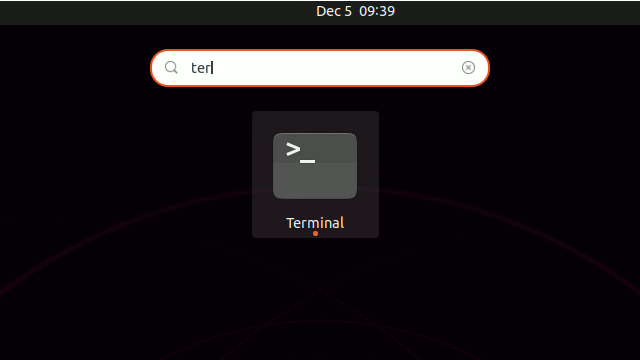
-
2. Downloading GlassFish
Download Eclipse GlassFish App Server for Linux.
Use the Web Profile for Servlet, JSF and JSB Apps.
If you are using Firefox then on Prompt Choose “Open with Archive Manager”:Or After try to Select the Package by the Downloads Button on Top Panel: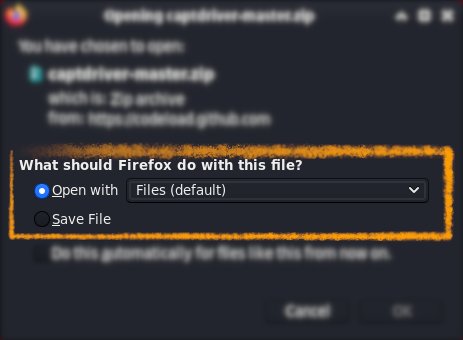 Instead, on Google-Chrome simply try to Choose the Package on the Bottom Panel:
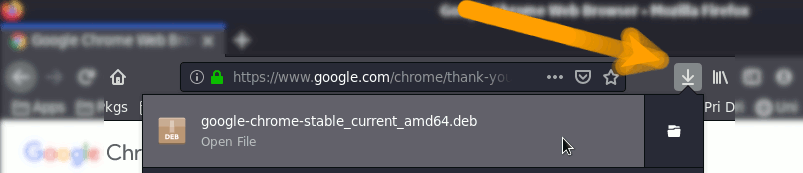 How to Install Chrome Browser on Linux
-
3. Extracting GlassFish
Then Extract Glassfish 5
First, Check if Unzip is there:which unzip
If Not then to Install the Unzip Tool:
sudo apt install unzip
Authenticate with the User Admin Pass.
If Got “User is Not in Sudoers file” then see: How to Enable sudo
Then Double-Click on Archive and Decompress it into /tmp: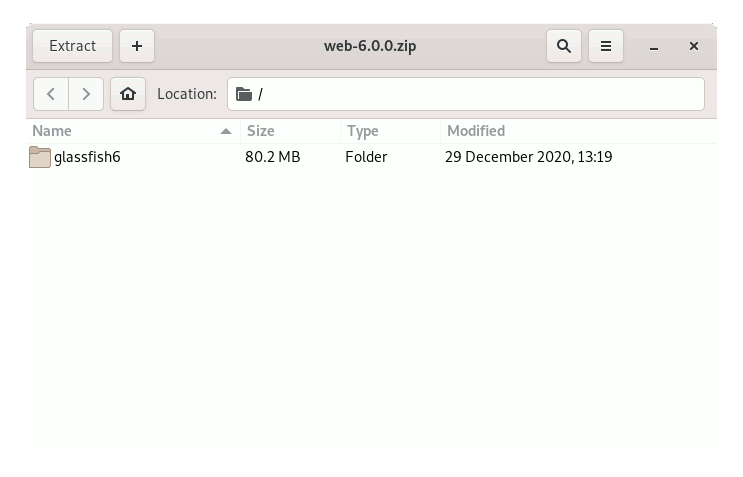
Or from Command Line:
unzip -d /tmp/ $HOME/Downloads/glassfish*.zip
-
4. Installing Oracle JDK
How to Install Required Oracle Java JDK 8+ on Ubuntu Linux.
-
5. Installing GlassFish
Finally, to Install Eclipse GlassFish on Ubuntu
(Here we describe a System-Wide Setup, for a Local one Just Run from inside Home)
Set the SuperUser as Owner:sudo chown -R root:root /tmp/glassfish*
Again, give Execution Permissions with:sudo chmod -R +x /tmp/glassfish*
And then Switch contents:
sudo mv /tmp/glassfish* /opt/
Moreover, Append Glassfish into User’s Path:
echo "export PATH=$PATH:/opt/glassfish7/bin" >> ~/.bashrc
In case replace the Version in the above Command.
To Reload Path simply:
bash
Finally, to Test GlassFish Installation:
which asadmin
-
6. GlassFish Getting Started Guide
Eclipse GlassFish Getting Started Guide for Ubuntu.
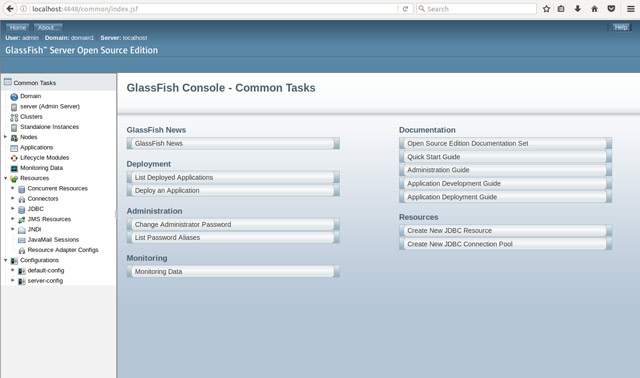
Now Thanks to Jakarta EE and the Glassfish Community you Can Fully Enjoy the JEE 9 Development on GlassFish App Server.