GNU/Linux Debian Trixie Adding Backports Repo
How to Enable/Add Debian 13.x Trixie Backports Repository.
And the Debian Trixie Backports Repo provides Packages with New Features on supported Debian Stable releases.
As a matter of Backports Policy, Packages in the stable-backports Suite are taken from Debian Testing; however, in rare cases such as Security updates, Packages are taken from Unstable.
Backports allow you to access newer software versions while keeping the stability of Debian’s core system.
This is ideal when you need updated features or hardware support not available in the default stable repositories.
All packages in Debian Backports are rebuilt from the current testing branch and carefully adapted to work smoothly on stable releases.
It’s a great way to stay up to date without compromising the reliability that Debian Stable is known for.

-
1. Accessing Shell
Open a Terminal window
(Press “Enter” to Execute Commands)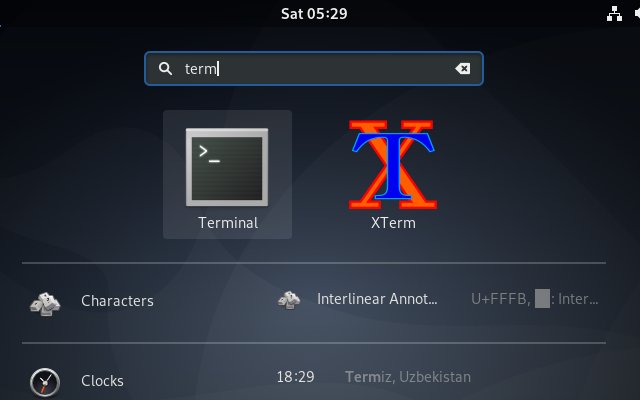
Or Login into Server Shell.
-
2. Adding Backports Repo
Then to Add Backports Repository for Debian 13
Simply execute:su -c "echo 'deb http://deb.debian.org/debian trixie-backports main' >> /etc/apt/sources.list.d/backports.list"
And respectively to Enable also the Driver’s Non Free sources:
su -c "echo 'deb http://deb.debian.org/debian trixie-backports main contrib non-free' >> /etc/apt/sources.list.d/backports.list"
The Setup includes ‘contrib‘ and ‘non-free‘ Sources.
If you want to further Managing these Sources see: Debian Non-free Repo Setup. -
3. Refreshing Debian Sources
Next to Refresh Debian Apt Repo Sources
Play:sudo apt update
Authenticate with the User Admin Pass.
If Got “User is Not in Sudoers file” then see: How to Enable sudo.
Contents