How to Install Canon Scanner on Lubuntu 18.04 LTS
Installing
-
3. Downloading Canon Scanner Driver
Download Canon Scanner Lubuntu Drivers
Search for “linux [myCanonModRounded]”
You may need to Round Down the Printer Model Number as here below…
Eg: for ‘mx472’ search for “linux mx470”
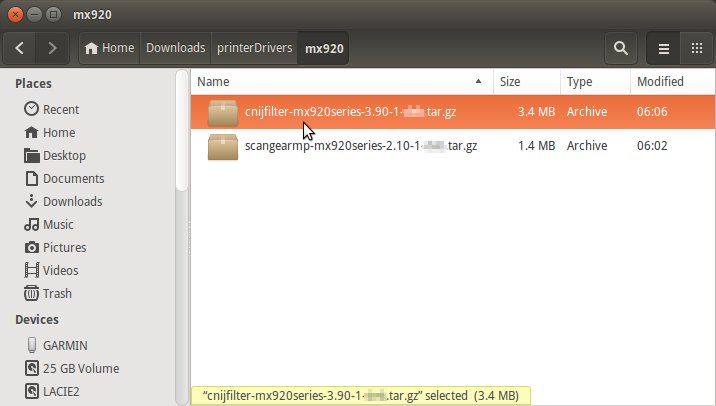
And for ‘MG2240’ search for “linux MG2200”Confirm to Open with Archive Manager on Browser.
Or after Double-Click/Right-Click on Scanner Driver:
(When Downloaded with Firefox may be located in /tmp/mozilla* Dir)
-
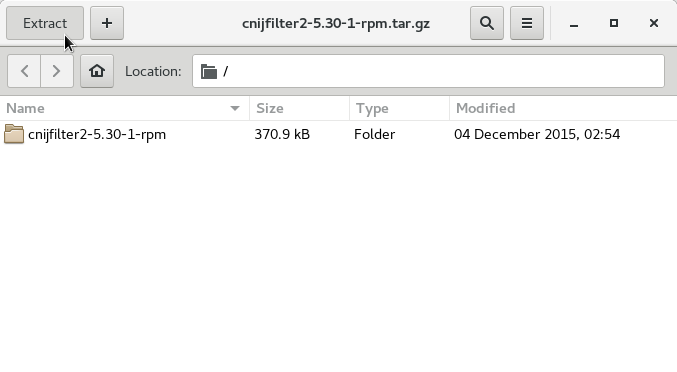
4. Extracting Canon Scanner Driver
And Extract it into the /tmp directory:

-
5. Installing Canon Scanner Driver
Now to Install Canon Scanner Driver
First, access the Target location:cd /tmp/scangearmp-*-deb
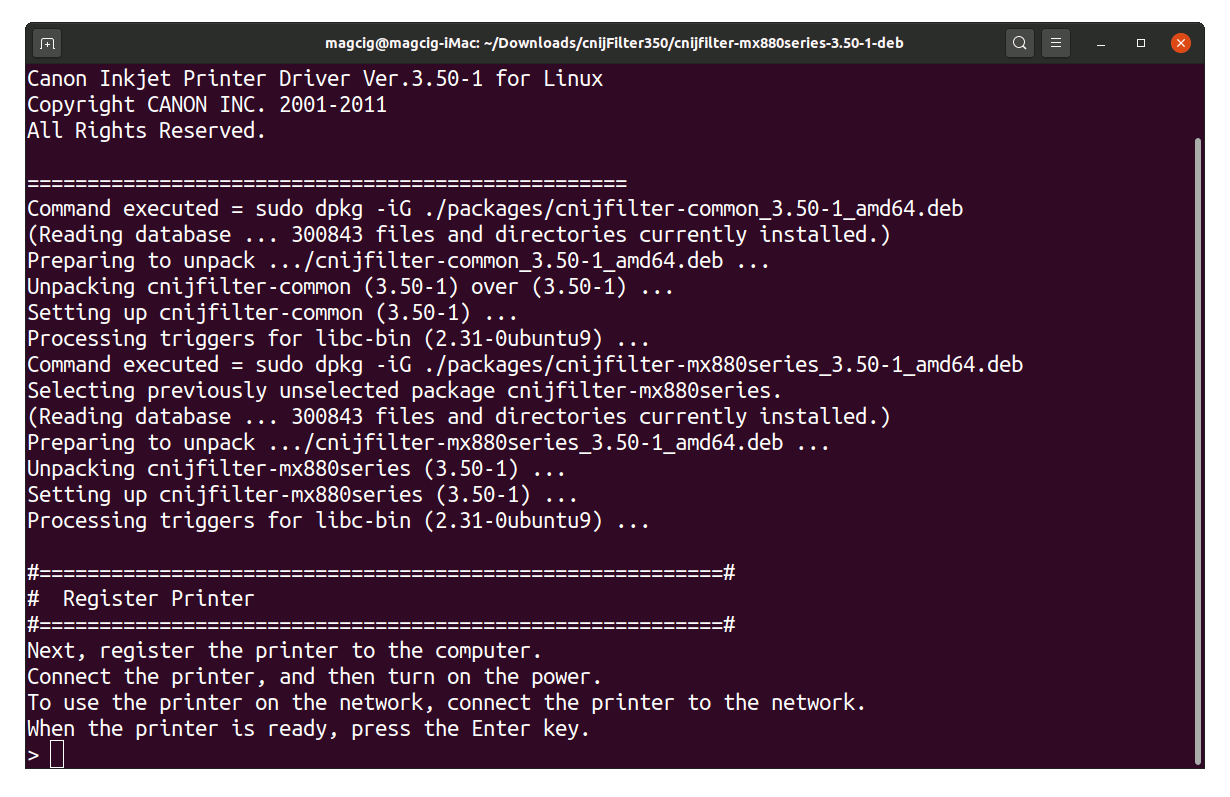
And then run the Installation Script:
sudo ./install.sh
You could be asked to Connect and Turn On the Printer…
In case of Installation Issues see this Troubleshooting!
Now in case of Issue then try first to execute:cd packages
sudo apt-get install gdebi gdebi-core
So for 64-bit run:
sudo gdebi ./*amd64.deb