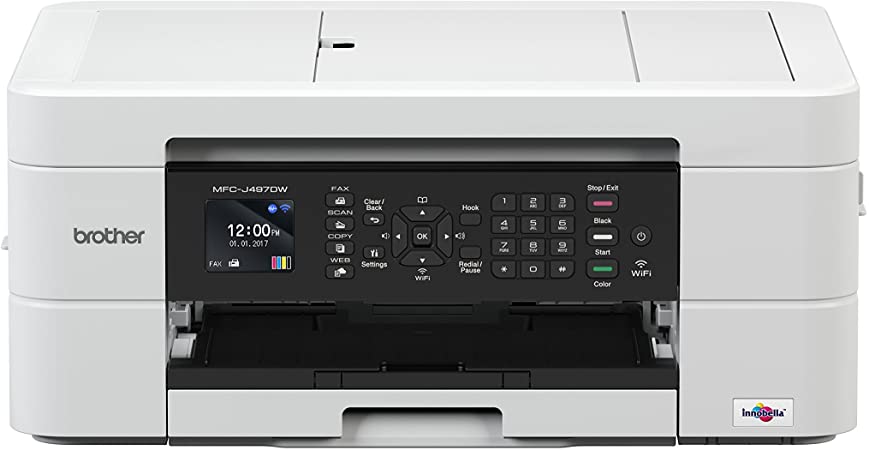
GNU/Linux Ubuntu Printer Brother MFC-J497DW Setup – Step-by-step Guide
How to Install Brother MFC-J497DW Printer on Ubuntu-Based GNU/Linux desktops – Step by step Tutorials.
Brother has developed a Printer Driver Installer Tool for Linux that simplifies the process by automatically downloading and installing the necessary dependencies across various distributions.
Especially relevant: after the Brother Printer Driver Ubuntu Installation to achieve the Printer Setup follow the included instructions to Add Printer!
So the Brother MFC-J497DW Driver Installation procedure is Valid also for:
- Lubuntu
- Kubuntu
- Xubuntu
- Zorin OS
- Elementary OS
- Kde Neon
- Bodhi
- Pop!_OS
- Linux Lite
- LXLE
- feren OS
- Peppermint Linux
- Q4OS Linux
- Linux Ultimate Edition
Finally, this guide includes detailed Instructions on How to Get Started Brother Scanning on Ubuntu.

1. Launching Terminal
Open a Terminal Shell emulator window
Ctrl+Alt+t on desktop
(Press “Enter” to Execute Commands)In case first see: Terminal QuickStart Guide.
2. Downloading Brother Printer Driver
Download the Brother MFC-J497DW Printer Driver Installer for Ubuntu
First, Choose Driver Install Tool
Then Select the Language: English or English (China)
The Driver Installation Script is the Same for All Brother Printers!3. Extracting Brother Printer Driver
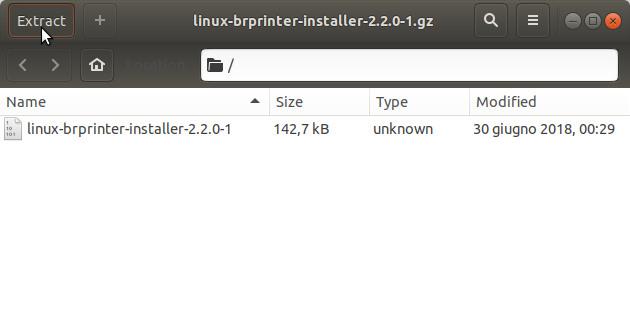
Then Extract it into /tmp
Possibly Double-Click/Right-Click on it to Open with Archive Manager:
Or from Command Line:
gunzip -c $HOME/Downloads/linux-brprinter-installer*.gz > /tmp/linux-brprinter-installer
Contents