Ubuntu Mount Ext2/Ext3/Ext4 Partition Boot
Hi! The Tutorial shows you Step-by-Step How to Mount a Ext2/Ext3/Ext4 Disk Partition a Ubuntu Linux System Boot/Start-Up.
The fstab file typically lists all available disks and disk partitions, and indicates how they are to be initialized or otherwise integrated into the overall system’s file system.

-
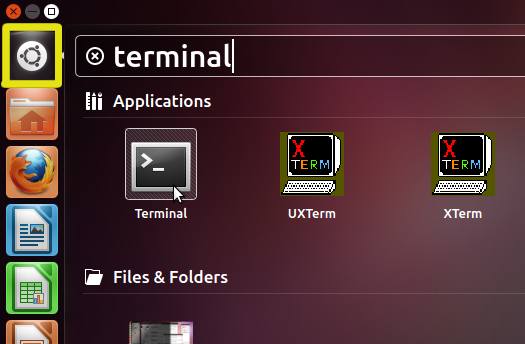
Open Terminal Window
(Press “Enter” to Execute Commands).Ctrl+Alt+t
-
Find the Partition UID.
ls -l /dev/disk/by-uuid
Copy the UID Value Associated to the /dev/sdXY Device.
-
Make the Target Directory.
sudo su -c "mkdir /mnt/[myDisk]"
-
Edit the fstab File.
sudo su -c "nano /etc/fstab"
Append:
UUID=[1234-5678] /mnt/[myDisk] auto defaults 0 0
Ctrl+Shift+v to Paste the UID Value
Ctrl+x to Save & Exit from nano Editor :) -
Test if the Setup is Working.
umount /mnt/[myDisk]
The last potentially to Unmount the Partition…
sudo mount -a
ls /mnt/[myDisk]
This should Show up all the Partition Content!