How to Getting-Started with Deployment on Glassfish 4
Hi! The Tutorial shows you Step-by-Step How to Getting-Started with Glassfish 4 Java EE Web Servlet Deployment on Ubuntu Desktop/Server i386/amd64 Linux.
GlassFish App Server Benefits:

-
Open a Command Line Terminal Window
Ctrl+Alt+t
(Press “Enter” to Execute Commands)
-
Possibly Download the Servlet Sample.
cd $HOME/Downloads/
To List the directory contents and Verify the file is there:
ls .
If Not then Try to look into the /tmp folder…
wget https://jitpack.io/com/github/WASdev/sample.servlet/2.1.0/sample.servlet-2.1.0.war
-
Give Execution Permission.
chmod +x $HOME/Downloads/sample.servlet.war
-
How to Install Glassfish 4 App Server for Ubuntu
-
Open with Browser the Admin Backend
http://localhost:4848
-
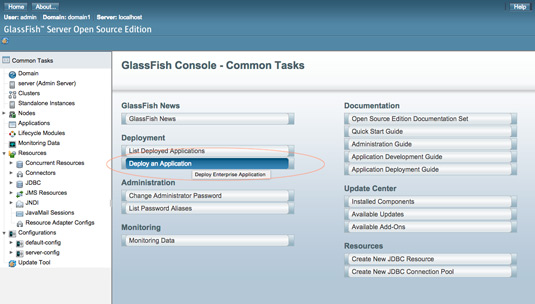
Select Deploy an Application.
-
Browse for the sample.war file
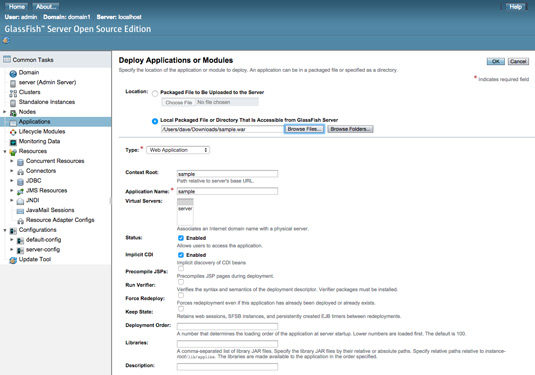
The Confirm with “OK”
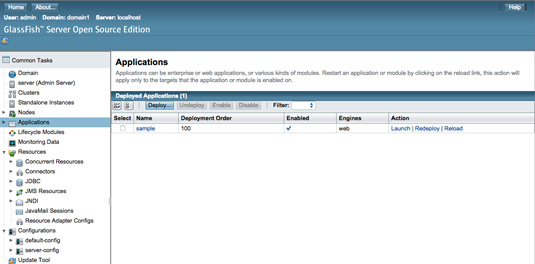
Then you Should have a Confirmation about the Deployed App…
-
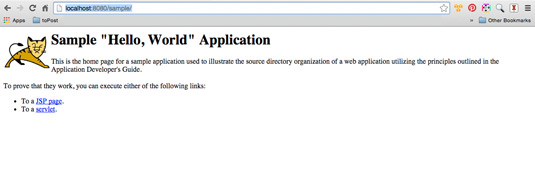
View the Deployed Servlet
http://localhost:8080/sample.servlet-2.1.0/