GitEye Quick Start for openSUSE
The Linux openSUSE Tutorial shows you How to Install Free Git Client GitEye on openSUSE 11.X/12.X/13.X/42.X GNU+Linux Desktop.
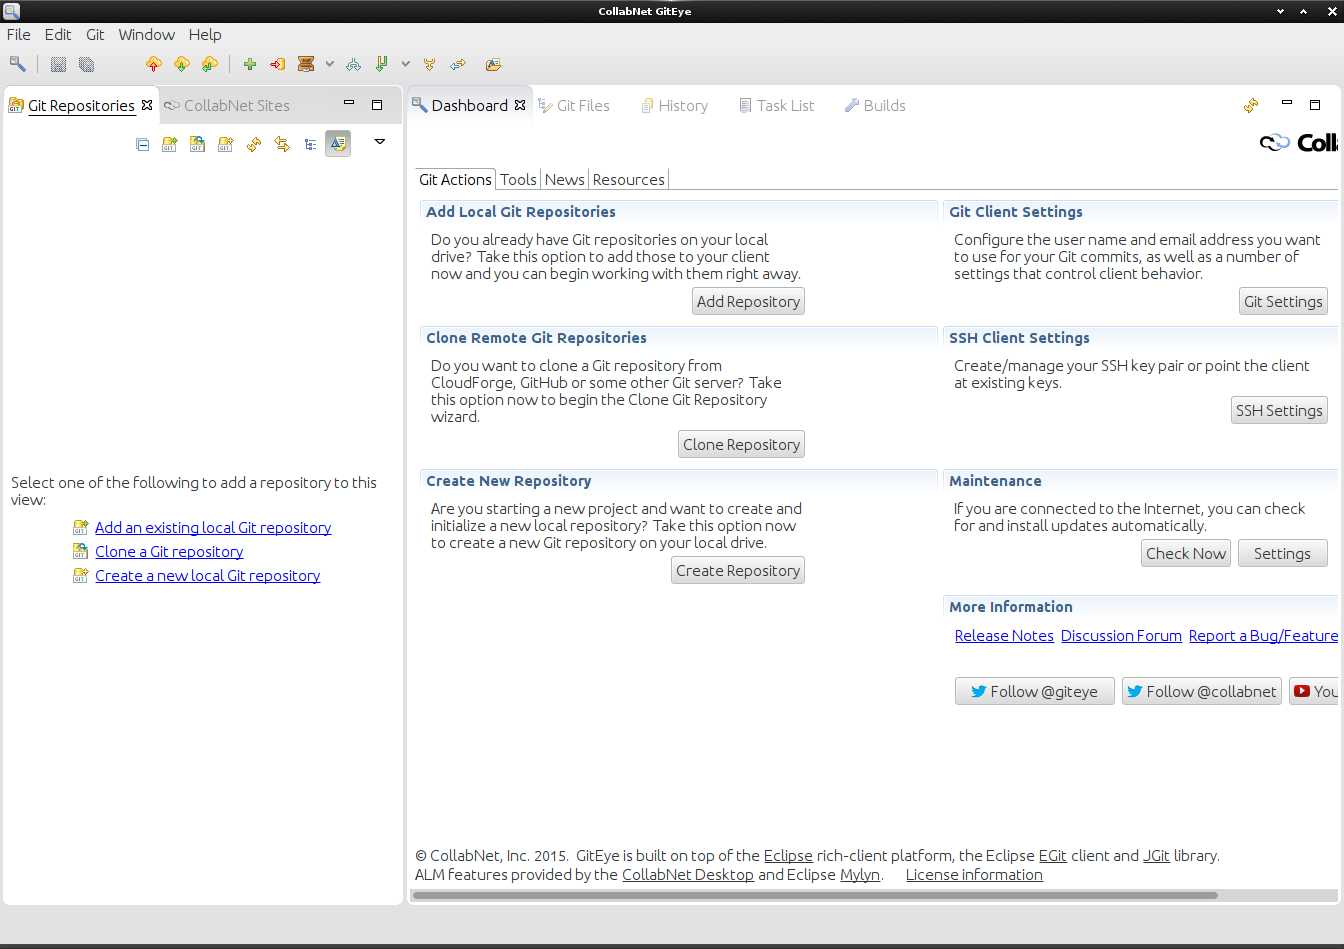
CollabNet GitEye is an Intuitive Graphical Git client with Integration to your favorite Planning, Tracking, Code Reviewing, and Build Tools.
Git comes with built-in GUI tools for committing (git-gui) and browsing (gitk), but there are several third-party Tools for Users looking for Platform-specific Experience.

-
Download CollabNet GitEye Client for Linux
-
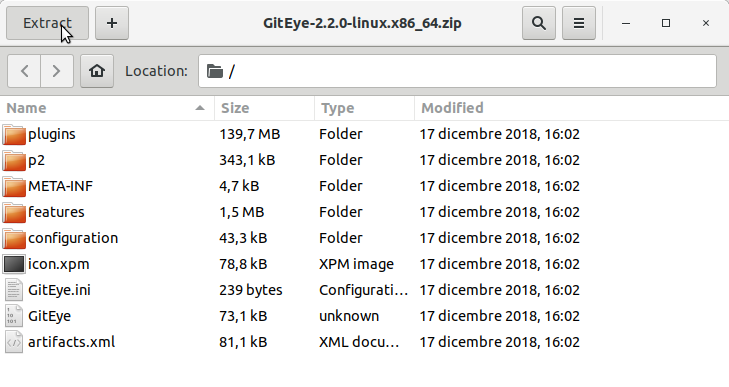
Double-Click and Extract into /tmp/GitEye.
-
Open a Shell Terminal emulator window
(Press “Enter” to Execute Commands)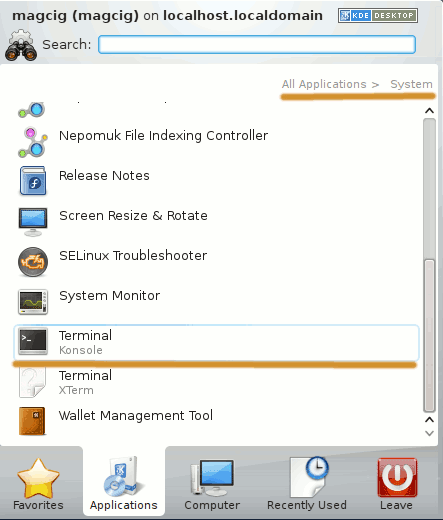
In case first see: Terminal QuickStart Guide.
-
Relocating GitEye
Set the SuperUser as Owner:sudo chown -R root:root /tmp/GitEye
Then Switch Contents:
sudo mv /tmp/GitEye /opt/GitEye
If Got “User is Not in Sudoers file” then see: How to Enable sudo
-
Launching GitEye from Shell
Create a Symlink for Easy starting with:sudo ln -s /opt/GitEye/GitEye /usr/local/bin/GitEye
Then to Launch it:
GitEye
-
How to Create a GitEye Desktop Menu App Launcher