January 26, 2013 | By Duchateaux.
The Guide shows you Simply and Step-by-Step How to Install and Getting-Started with Android SDK Tools Latest Revision for Linux Mint 14 Nadia Xfce Desktop.
And this Visual Guide includes the Basic Screenshots of All GUI Steps involved.
The content of the Guides give Focus only to the Essentials Instructions and Commands for an easier understanding ;)
-
Download Latest Android SDK rN:
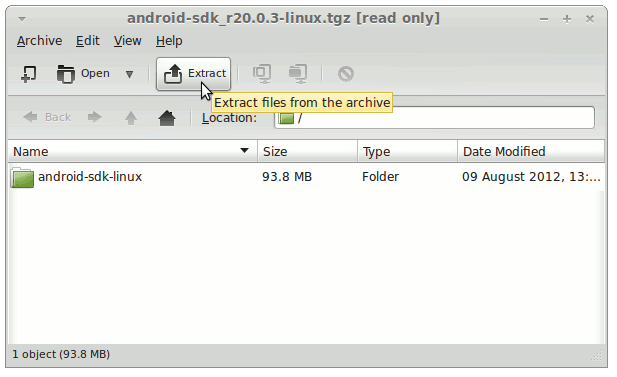
Android SDK Tools Linux .tgz
Double-Click on Archive and Extract into /tmp
Open a Terminal Window
(Press “Enter” to Execute Commands)
In case first see: Terminal QuickStart Guide.
Relocate Android SDK.
sudo su
If Got “User is Not in Sudoers file” then see: How to Enable sudo
mv /tmp/android-sdk-linux /opt
Installing Android SDK for Linux.
- Access Target
cd /opt/android-sdk-linux/tools
- Start Updater/Installer
./android sdk
- Select Android SDK Features
Select Accept All to Install All Default Checked Features.
- Installing
Set the Android SDK Tools Path:
Edit the User Bash configuration file
nano ~/.bashrc
Append
export PATH=$PATH:/opt/Android/Sdk/tools:/opt/Android/Sdk/platform-tools:/opt/Android/Sdk/tools/bin
Ctrl+x to Save & Exit from nano editor :)
Load the New Path simply with
bash
This Setup will be useful after the First, launch of Android Studio IDE and the Installation of Android SDK Tools…
How Add Android Integration to Eclipse Platform:
How to Install ADT Eclipse Plugin