Linux PureOS 7.0 Gnome Desktop Installation Steps on VMware Fusion 5 Step-by-Step Detailed Visual Guide

March 31, 2013 | By Duchateaux.

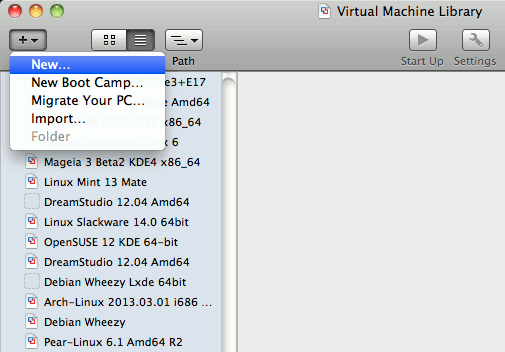
Hi! The Tutorial shows you Step-by-Step How to Install and Getting Booted Up the Linux PureOS 7.0 GNOME Desktop on VMware Fusion 5 for macOS.

You Find Included the Links to Guides on How Preparing and Booting Up the Linux PureOS 7.0 GNOME Desktop from USB Stick on VMware.

All Steps are Clearly Delineated Reducing at Minimum the Eventuals Choices and Customizations to Make Clearer & Easier the Process.

Just Relax & Take the Time of Carefully Reading and Executing the Instructions Contained Here and All should Work Like a Summer Breeze :)

PureOS GNOME Penguin
  1. Download Linux PureOS 7.0 GNOME:

    PureOS 7.0 GNOME .zip
  2. How to Make a PureOS 7.0 GNOME Bootable USB Stick:

  3. Create a New Virtual Machine.

    VMware Fusion 5 Create New Virtual-Machine

  4. SetUp the Virtual-Machine to Boot from PureOS USB Stick:

  5. Select the plop.iso Media.

    VMware Fusion Plop Iso Media

  6. Choose Debian as Operating System:

    Debian Linux 64-bit Operating System on VMware-Fusion 5

  7. Click on Customize Settings:

  8. Naming PureOS 7.0 GNOME VM:

    Linux PureOS 7.0 GNOME Installation VMware-Fusion 5 - Naming

  9. Set RAM Memory to at Least 1024 Mb:

    Linux PureOS 7.0 GNOME Installation VMware-Fusion 5 - Setting Ram

  10. Set Disk Size to Auto-Growing Maximum 64Gb:

    Linux PureOS 7.0 GNOME Installation VMware-Fusion 5 - Setting Hard-Disk Size

  11. On Boot Screen Select USB.

    VMware Fusion Virtual-Machine Select Boot from USB

  12. Login into Live System

    • User: root

    • Pass: root

  13. Open a Terminal Window
    (Press “Enter” to Execute Commands)

    Right-Click on Desktop >> Terminal Emulator.

  14. Making Partitions

    su 

    If Got “User is Not in Sudoers file” then see: How to Enable sudo

    fdisk /dev/sdb

    Make a New Partition Table:

    : o

    Make the Swap Partition:

    : n
    : p

    Default Start.

    : +1G

    Make the Root Partition:

    : n
    : p

    Default Start.

    Default End.

    Write Partitions:

    : w
  15. Formating Partitions

    Set Swap:

    mkswap /dev/sdb1

    Format Root:

    mkfs.ext4 /dev/sdb2
  16. Installing PureOS 7.0 GNOME

    Right-Click on Desktop > Install PureOS.

    Start Linux PureOS 7.0 GNOME Installation
    Start Linux PureOS 7.0 GNOME Start Installation SetUp

    Select Installation Partition.

    Linux PureOS 7.0 GNOME Installation Set Installation Root Partition

    Select GRUB Bootloader Partition.

    Linux PureOS 7.0 GNOME Installation Set GRUB Partition

    Set Name.

    Linux PureOS 7.0 GNOME Installation Set Name

    Set User.

    Linux PureOS 7.0 GNOME Installation Set User

    Set Guest Account Pass.

    Linux PureOS 7.0 GNOME Installation Set Guest Account Pass

    Set Root Account Pass.

    Linux PureOS 7.0 GNOME Installation Set Root Account Pass

    Starting Installation.

    Linux PureOS 7.0 GNOME Installation Start Installation

    The Installation Then is Very Quick!.

  17. Reboot Into your New PureOS 7.0 GNOME System Linux PureOS 7.0 GNOME Desktop


QuickChic Theme • Powered by WordPress