How to Install Oracle Java JDK 7 on openSUSE 12.3 Gnome3 Easy Guide

April 26, 2013 | By Duchateaux.

Install Oracle JDK 7 on openSUSE 12.3 GNOME

The Guide shows you How to Install the Latest Oracle-Sun Java JDK 7 SE 32-bit Release for openSUSE 12.3 GNOME3 i686/x8664 Desktop.

Especially relevant: At the Same Time I’m also illustrating here the Easiest Way of Installing the New Downloaded .rpm Packages with Dependencies on openSUSE GNOME3 Desktop :)

To the Article Bottom Link to Installing the Firefox Browser Java Plugin and Eclipse for Java Development on openSUSE Linux.

The Screenshots of Installation Correspond to the Install on a OpenSuse 12.3 GNOME3 Desktop but the Procedure on KDE4, XFCE… Should be Near Identical.

So Take the Time of Carefully Reading and Executing the Instructions Contained Here and All should Work Like a Breeze :)

Java on openSUSE
  1. Download Oracle-Sun Java SE JDK 7 for Linux:

    Oracle JDK Linux x86/x64 .rpm
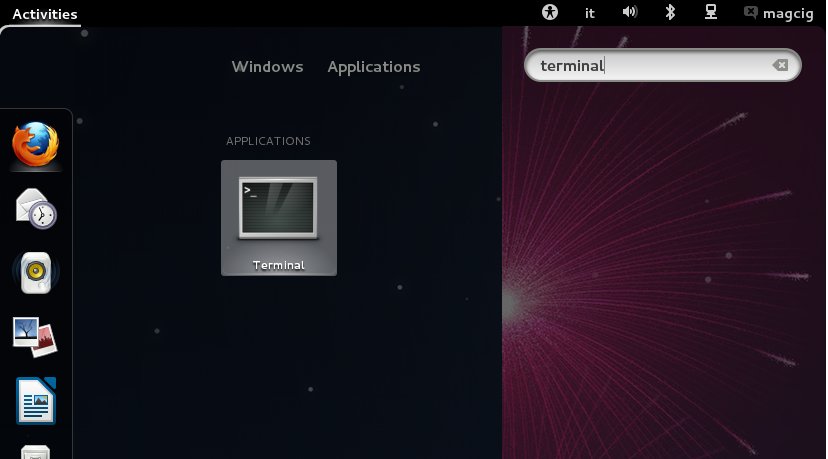
  2. Open Terminal Window
    (Press “Enter” to Execute Commands)

    Linux OpenSuse 12 GNOME 3 Open Terminal

    In case first see: Terminal QuickStart Guide.

  3. Installing Oracle Java JDK

    cd </path/2>
    sudo su -c "zypper in jdk1.7*.rpm"

  4. Managing Multiples Java Versions with update-alternatives

    sudo su -c "zypper in update-alternatives"

    Find the Java JDK Version in Use:

    java -version

    To Switch the Java JDK Version:

    su -c "update-alternatives --config java"
  5. Optionally Set Java Environment Variable.

    su <myUser>
    nano $HOME/.bashrc

    Append:

    export JAVA_HOME=/usr/lib/jvm/jdk1.<X.Y_uZ>

    Ctrl+x to Save & Exit from nano :)

    source $HOME/.bashrc
  6. How to Install Oracle Java Browser Plug-In

    Install Oracle Java Firefox PlugIn
  7. How to Install Eclipse for Java Developers on openSUSE

    Install Eclipse Java for openSUSE

QuickChic Theme • Powered by WordPress