Enabling Dovecot SSL Support for Postfix on Ubuntu
The Easy Guide shows you How Enabling Postfix Smtp, Pop & Imap Secure Login with Dovecot on Ubuntu Linux.
The Postfix+Dovecot Configuration Proposed will Permit the eMail Client Connection and Retrieval from your Server.
If you Do Not Already Dispose of a Working Postfix eMail Server then Before Follow the Guide to Postfix Getting-Started.

-
PreRequisite Postfix Secure eMail Server SetUp.
-
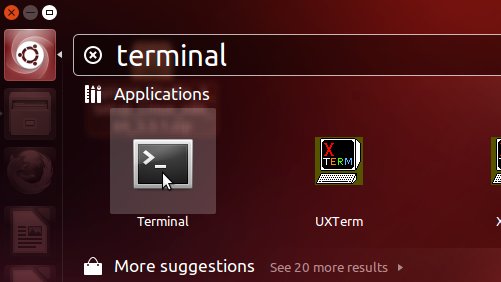
Open Terminal Window
(Press “Enter” to Execute Commands)Cmd and Search “term”

In case first see: Terminal QuickStart Guide.
-
Edit the Dovecot Configuration File
sudo su -c "nano /etc/dovecot/dovecot.conf"
Append:
auth default { mechanisms = plain login passdb pam { }/nuserdb passwd { } socket listen { client { path = /var/spool/postfix/private/auth mode = 0660/nuser = postfix group = postfix } } } -
Configuring Dovecot for IMAP, IMAPS, POP3, and POP3S
sudo su -c "apt-get install mail-stack-delivery"
-
Create a Self-Signed Certificate for SSL Authentication
Self-Signed Certificate on Ubuntu -
Copy Server SSL Key, CSR and Certificate for Dovecot Auth
cp </path/2>/myKEY.pem /etc/ssl/private
cp </path/2>/myCSR.pem /etc/ssl/certs
cp </path/2>/myCERT.pem /etc/ssl/certs
-
Set a Server SSL Certificate and Key
sudo su -c "nano /etc/postfix/main.cf"
Change or Set the Following Parameters:
smtpd_tls_key_file = /etc/ssl/private/myKEY.pem
smtpd_tls_cert_file = /etc/ssl/certs/myCSR.pem
smtpd_tls_CAfile = /etc/ssl/certs/myCERT.pem
-
Latest Restart Postfix
service postfix restart
-
How to Enable eMail Client Custom Password Auth.
Then you Should Finally, Have a Fully Functional and Secure eMail Server with Smtp, Pop & Imap Login.