Install Hadoop 2.X for macOS 10.9 Mavericks
Hi! The Tutorial shows you Step-by-Step How to Install and Getting-Started with Apache Hadoop/Map-Reduce vanilla in Pseudo-Distributed mode on Mac OS X 10.9 Mavericks Desktop.
Hadoop is a distributed master-slave that consists of the Hadoop Distributed File System (HDFS) for storage and Map-Reduce for computational capabilities.
The Guide Describe a System-Wide Setup with Root Privileges but you Can Easily Convert the Procedure to a Local One.
Apache Hadoop Require the Java JDK 6+ Installed so If Needed Just Update your Mac 10.9 Mavericks.
The Contents and Details of How to Install Hadoop on macOS 10.9 Mavericks are Expressly Essentials to Give Focus Only to the Essentials Instructions and Commands.

-
Download Latest Apache Hadoop Stable Release:
-
Double-Click on Archive to Extract
-
Open Terminal Window
(Press “Enter” to Execute Commands)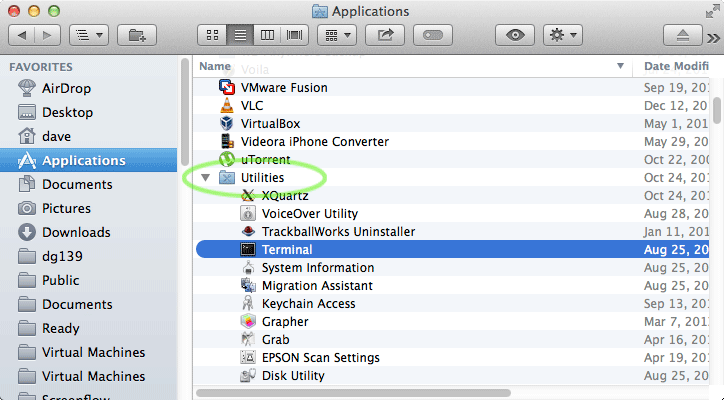
In case first see: Terminal QuickStart Guide.
-
Relocate Apache Hadoop Directory
sudo mv $HOME/Downloads/hadoop* /usr/local
sudo ln -s /usr/local/hadoop-[2.x] /usr/local/hadoop
sudo mkdir /usr/local/hadoop/tmp
sudo chown -R root:admin /usr/local/hadoop*
-
Check if Java JDK 6/7 is Installed
java --version
How to Install Required Oracle JDK on MacOS X
-
Set JAVA_HOME in Hadoop Env File.
sudo su
If Got “User is Not in Sudoers file” then see: How to Enable sudo
mkdir /usr/local/hadoop/conf
nano /usr/local/hadoop/conf/hadoop-env.sh
Append:
export JAVA_HOME=$(/usr/libexec/java_home)
Ctrl+x to Save & Exit :)
-
Configuration for Pseudo-Distributed mode
nano /usr/local/hadoop/conf/core-site.xml
The Content Should Look Like:
<?xml version="1.0"?>
<?xml-stylesheet type="text/xsl" href="configuration.xsl"?>
<configuration>
<property>
<name>hadoop.tmp.dir</name>
<value>/usr/local/hadoop/tmp</value>
</property>
<property>
<name>fs.default.name</name>
<value>hdfs://localhost:8020</value>
</property>
</configuration>
Next:
nano /usr/local/hadoop/conf/hdfs-site.xml
The Content Should Look Like:
<?xml version="1.0"?>
<?xml-stylesheet type="text/xsl" href="configuration.xsl"?>
<configuration>
<property>
<name>dfs.replication</name>
<value>1</value>
</property>
<property>
<!-- specify this so that running 'hdfs namenode -format'
formats the right dir -->
<name>dfs.name.dir</name>
<value>/usr/local/hadoop/cache/hadoop/dfs/name</value>
</property>
</configuration>
Latest:
nano /usr/local/hadoop/conf/mapred-site.xml
The Content Should Look Like:
<?xml version="1.0"?>
<?xml-stylesheet type="text/xsl" href="configuration.xsl"?>
<configuration>
<property>
<name>mapred.job.tracker</name>
<value>localhost:8021</value>
</property>
</configuration>
-
SetUp Local Path & Environment.
exit
cd
nano .profile
Inserts:
HADOOP_HOME=/usr/local/hadoop/nexport PATH=$PATH:$HADOOP_HOME/bin:$HADOOP_HOME/sbin/nexport JAVA_HOME=$(/usr/libexec/java_home)
Then Load New Setup:
source $HOME/.profile
-
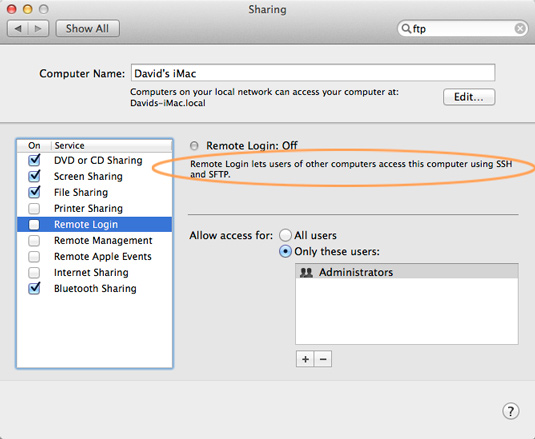
SetUp Needed Local SSH Connection.
Enable SSH Connection:
System Preferences > Sharing
Testing Connection:
ssh 127.0.0.1
-
Formatting HDFS
hdfs namenode -format

-
Starting Up Hadoop Database
start-all.sh
-
Apache Hadoop Database Quick Start Guide
Hadoop MapReduce Quick Start
Eclipse Hadoop 2.X Integration with Free Plugin.
