How to Install Komodo Edit on openSUSE 13.X Linux Easy Guide

January 28, 2014 | By the+gnu+linux+evangelist.

Install Komodo Edit for openSUSE 13.X Linux

The Guide shows you How to Install and Getting-Started with the Latest ActiveState Komodo Edit 12.x FREE Html Editor on openSUSE 13.X KDE4/Gnome i686/x8664 Desktop.

ActiveState Komodo Edit 12.x is Not WYSIWYG but is Supposed to be the Best Free Editor for Html Code Development on Linux.

In Fact it Disposes Out-of-the-Box of a Practical and Functional Code Intelligence that Make your Html Coding Experience Easier, More Pleasant and Productive.

Moreover, to Make the Process Easier to Visualize the Post Includes the Basic Screenshots of the Steps Involved.

The Contents and Details of Komodo Edit Installation openSUSE 13.X are Expressly Minimal to Give Focus Only to the Essentials Instructions and Commands and Make the Tut Easier to Understand ;)

Install Komodo Edit for openSUSE 13.X Linux - Featured
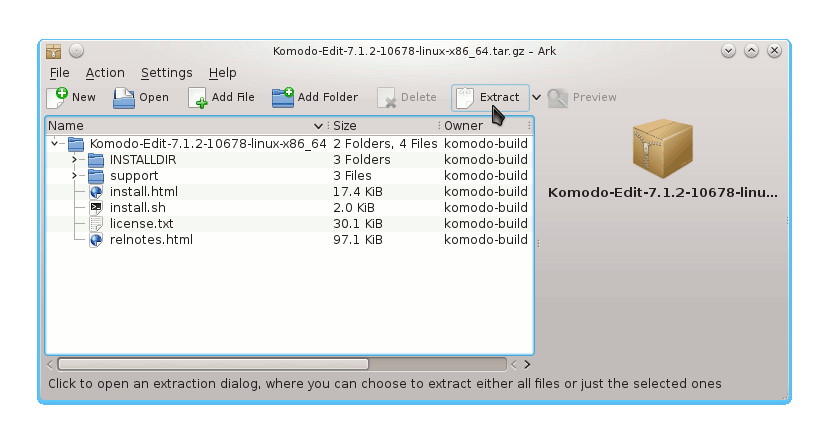
  1. Download Latest Komodo-Edit for Linux.

    Komodo Edit 12.x x86/x64 tar.gz
  • Double-Click on Archive and Extract into /tmp Install Komodo Edit for openSUSE 13.X Linux - Extraction

  • Open a Terminal Window
    (Press “Enter” to Execute Commands)

    Install Komodo Edit for openSUSE 13.X Linux - Open Terminal

    In case first see: Terminal QuickStart Guide.

  • Installing Komodo Edit

    1. Login as SuperUSer
      sudo su

      If Got “User is Not in Sudoers file” then see: How to Enable sudo

    2. Change to Komodo Directory
      cd /tmp/Komodo-*
    3. Run Installation Script
      ./install.sh

      Select the Install Directory Location.

      Example: /opt/Komodo-Edit.

    4. Make Symlink to Komodo
      ln -s /opt/Komodo-Edit/bin/komodo /usr/local/bin/komodo
  • Quick Start in Komodo Edit.

  • How to Install Evernote on openSUSE Linux:

    Installing Evernote for openSUSE
    Install Komodo Edit for openSUSE 13.X Linux - Komodo Edit GUI

    QuickChic Theme • Powered by WordPress