Install Hadoop 2.X for Ubuntu 12.04 Precise LTS 32/64-bit
Hi! The Tutorial shows you Step-by-Step How to Install and Getting-Started with Apache Hadoop/Map-Reduce vanilla in Pseudo-Distributed mode on Ubuntu 12.04 Precise Pangolin LTS i386/amd64 Linux Desktop.
Hadoop is a distributed master-slave that consists of the Hadoop Distributed File System (HDFS) for storage and Map-Reduce for computational capabilities.
The Guide Describe a System-Wide Setup with Root Privileges but you Can Easily Convert the Procedure to a Local One.
The Contents and Details of How to Install Hadoop on Ubuntu 12.04 Precise LTS are Expressly Essentials to Give Focus Only to the Essentials Instructions and Commands.

-
Download Latest Apache Hadoop Stable Release:
-
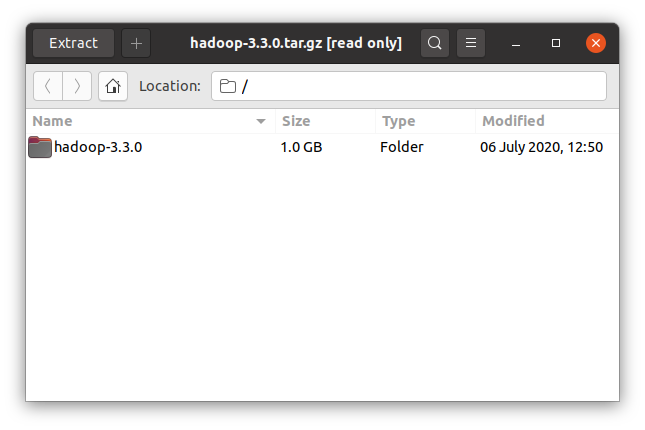
Double-Click on Archive and Extract Into /tmp Directory
-
Open Terminal Window
(Press “Enter” to Execute Commands)Cmd and Search “term”

In case first see: Terminal QuickStart Guide.
-
Relocate Apache Hadoop Directory
sudo su
If Got “User is Not in Sudoers file” then see: How to Enable sudo
mv /tmp/hadoop* /usr/local/
ln -s /usr/local/hadoop* /usr/local/hadoop
mkdir /usr/local/hadoop/tmp
sudo chown -R root:root /usr/local/hadoop*
-
How to Install Required Java JDK on Ubuntu
-
Set JAVA_HOME in Hadoop Env File
nano /usr/local/hadoop/conf/hadoop-env.sh
Inserts:
export JAVA_HOME=/usr/lib/jvm/<oracleJdkVersion>
Ctrl+x to Save & Exit :)
-
Configuration for Pseudo-Distributed mode
nano /usr/local/hadoop/conf/core-site.xml
The Content Should Look Like:
<?xml version=”1.0″?>
<?xml-stylesheet type=”text/xsl” href=”configuration.xsl”?>
<configuration>
<property>
<name>hadoop.tmp.dir</name>
<value>/usr/local/hadoop/tmp</value>
</property>
<property>
<name>fs.default.name</name>
<value>hdfs://localhost:8020</value>
</property>
</configuration>Next:
nano /usr/local/hadoop/conf/hdfs-site.xml
The Content Should Look Like:
<?xml version=”1.0″?>
<?xml-stylesheet type=”text/xsl” href=”configuration.xsl”?>
<configuration>
<property>
<name>dfs.replication</name>
<value>1</value>
</property>
<property>
<!– specify this so that running ‘hdfs namenode -format’
formats the right dir –>
<name>dfs.name.dir</name>
<value>/usr/local/hadoop/cache/hadoop/dfs/name</value>
</property>
</configuration>Latest:
nano /usr/local/hadoop/conf/mapred-site.xml
The Content Should Look Like:
<?xml version=”1.0″?>
<?xml-stylesheet type=”text/xsl” href=”configuration.xsl”?>
<configuration>
<property>
<name>mapred.job.tracker</name>
<value>localhost:8021</value>
</property>
</configuration> -
SetUp Path & Environment
su <myuser>
cd
nano .bashrc
Inserts:
HADOOP_HOME=/usr/local/hadoop
export PATH=$PATH:$HADOOP_HOME/bin:$HADOOP_HOME/sbinThe JAVA_HOME is Set Following Oracle Java JDK6+ Installation Version…
Then Load New Setup:
source $HOME/.bashrc
-
SetUp Needed Local SSH Connection
sudo systemctl start ssh
Generate SSH Keys to Access:
ssh-keygen -b 2048 -t rsa
echo "$(cat ~/.ssh/id_rsa.pub)" > ~/.ssh/authorized_keys
Testing Connection:
ssh 127.0.0.1
-
Formatting HDFS
hdfs namenode -format
-
Starting Up Hadoop Database
start-all.sh
-
Apache Hadoop Database Quick Start Guide
Hadoop MapReduce Quick Start