Installing SeaMonkey on Linux Mint 17 Qiana 64-bit
Hi! The Tutorial shows you Step-by-Step How to Install Mozilla SeaMonkey x8664 Browser and eMail Client for Linux Mint 17 Qiana Mate/Cinnamon/KDE/Xfce Amd64 Desktop.
The Same Procedure with only some Little changes will Work also on Other Linux Mint Releases.
The How to Install SeaMonkey on Linux Mint 17 Qiana 64-bit Include the Basic ScreenShots to Make Easier the Whole Visualization Steps Involved.

-
Download Latest SeaMonkey Linux Stable Release
First, Select the Latest Seamonkey Release and then Access the Contrib Directory…
-
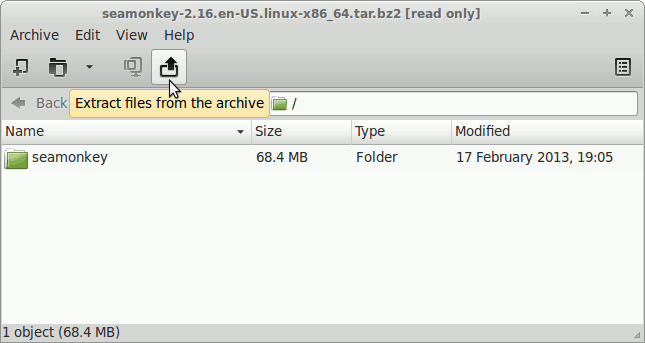
Double-Click on Archive and Extract into /tmp
-
Open a Terminal Window
(Press “Enter” to Execute Commands)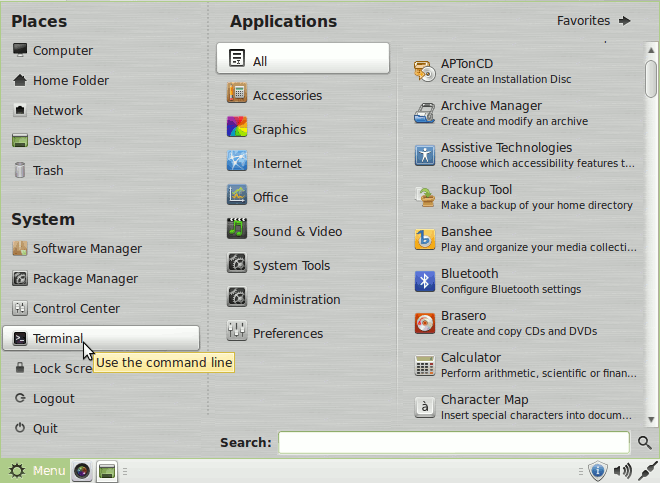
In case first see: Terminal QuickStart Guide.
-
Relocate SeaMonkey.
sudo su -c "mv /tmp/seamonkey* /opt"
Create a Symlink:
sudo ln -s /opt/seamonkey*/seamonkey /usr/local/bin/seamonkey
-
Finally, to Launch SeaMonkey
From Terminal:seamonkey
How to Easy Creating a SeaMonkey Desktop Quick Launcher
How to Install Evernote Clone on Linux Mint:
Installing Nixnote on Linux Mint.