Install ownCloud Client for Lubuntu 14.04 Trusty
Hi! The Tutorial shows you Step-by-Step How to Getting-Started with ownCloud Sync Client on Lubuntu 14.04 Trusty Tahr LTS i386/amd64 Linux Desktop.
ownCloud provides universal access to your files via the web, your computer or your mobile devices — wherever you are.
It also provides a platform to easily view & sync your contacts, calendars and bookmarks across all your devices and enables basic editing right on the web.
- ownCloud Documents
- Access your Data
- Sync your Data
- Share your Data

-
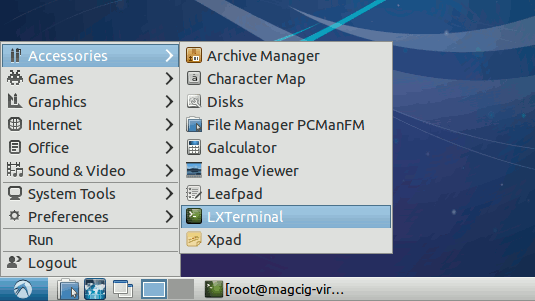
Open a Command Line Terminal Window
(Press “Enter” to Execute Commands).Ctrl+Alt+T
In case first see: Terminal QuickStart Guide.
-
How to Add ownCloud Client Ubuntu Apt Repo
-
Installing ownCloud Sync Client for Lubuntu Linux:
sudo apt-get install owncloud-client
-
Run the ownCloud Sync Client for Lubuntu:
-
ownCloud Sync Client First, Setup:

The Connection Domain should be the Same as for the ownCloud Server Web Admin GUI.
How to Install ownCloud Server for Ubuntu
Setup Admin Username and Password.
Set the Local ownCloud Sync Folder.
-
After ownCloud Sync Client is Running on Lubuntu:
How to Enable Https Secure Connection Apache