Ubuntu Linux GWT Quick Start Guide
Hi! The Tutorial shows you Step-by-Step How to Getting-Started with Google Web Toolkit Development on Ubuntu 14.04 Trusty Tahr LTS Linux i386/amd64 Desktop.
To dispose of the Recommended Java Environment on Ubuntu follow Guide on Installing Oracle Java JDK on Ubuntu.
At the core of GWT is a Java-to-JavaScript compiler that produces code capable of running on Internet Explorer, Firefox, Mozilla, Safari, and Opera.
The Google Web Toolkit (GWT) slashes through the issues that surround multibrowser Ajax development.
It moves the development lifecycle into the type-safe language of Java while retaining the capability to access JavaScript and third-party libraries.
The GWT provides a set of tools for communication that allow you to access server-side services written in any language,
This make it potential to integrate with frameworks such as Java-Server Faces (JSF), Spring, Struts, and Enterprise JavaBeans (EJBs).
GWT provides a rich set of tools for developing Rich Internet Applications and solving the problem of moving the desktop application into the browser, including a rich set of widgets and many other tools.
GWT also provides support for the JUnit testing framework and a special hosted-mode browser that lets you develop and debug in Java without ever needing to deploy your code to a server.

-
Open a Command Line Terminal Window
(Press “Enter” to Execute Commands).Ctrl+Alt+t

In case first see: Terminal QuickStart Guide.
-
Download the Standalone GWT SDK and Tools.
-
Double-Click on GWT Zip and Extract into /tmp/:
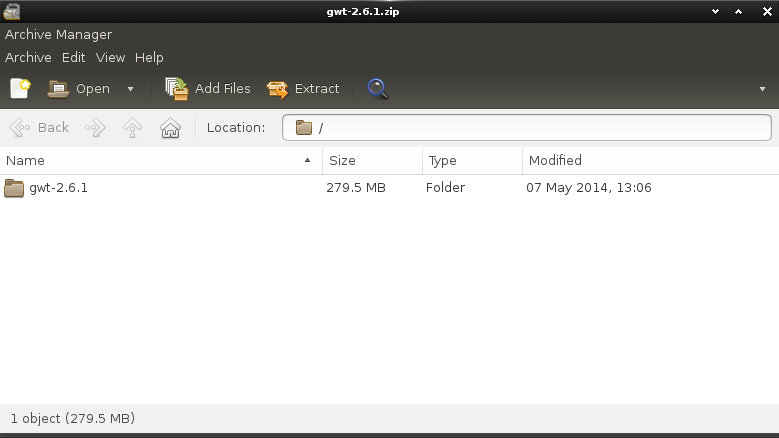
Or from Command Line:unzip -d /tmp/ gwt*.zip
-
Setting Up GWT:
sudo su -c "chown -R root:root /tmp/gwt*"
sudo su -c "mv /tmp/gwt* /opt/gwt"
-
Add GWT Tools to User Path:
nano $HOME/.bashrc
Append:
export PATH=$PATH:/opt/gwt
Ctrl+x to Save & Exit from nano Editor :)
-
Testing GWT Standalone Installation:
webAppCreator
-
How to Install Recommended Oracle Java JDK on Ubuntu
-
Quick Start with GWT Web Apps Development