Get Started Scanning on Xubuntu 14.04 Trusty LTS
Hi! The Tutorial shows you Step-by-Step How to Install and Getting-Started with Scanner for Xubuntu 14.04 Trusty Tahr LTS GNU/Linux Desktop.
XSane is a graphical scanning frontend for SANE (Scanner Access Now Easy). It uses the SANE-library to talk to scanners. This means that XSane does not support any scanners itself. Take a look at the SANE-backends homepage to find out which scanners are supported by SANE.
The Way followed here is Practically Working and perhaps it miss of the ultimate Terminal Command to recognize the Device associated to the Scanner.

-
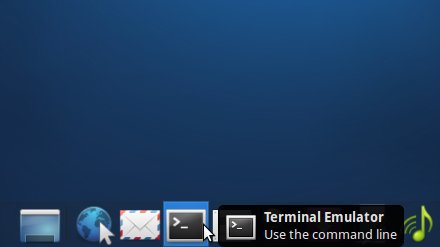
Open Terminal Window
(Press “Enter” to Execute Commands).Ctrl+Alt+t
-
How to Recognize Device Name Associated to Scanner.
- Disconnect the Scanner
- List All Connected Devices
ls /dev | grep '^s'
- Power On & Connect the Scanner
- List All Connected Devices Again
ls /dev | grep '^s'
Then carefully Find the /dev/sXYZ entry that is Appearing in the Latest List.
-
Make the proper Scanner Device Symlink.
- For USB Scanners:
sudo su -c "ln -s /dev/sXYZ /dev/usbscanner"
- For SCSI Scanners:
sudo su -c "ln -s /dev/sXYZ /dev/scanner"
- For USB Scanners:
-
Install XSane for Xubuntu Linux.
sudo su -c "apt-get install xsane sane"
-
Launch XSane and Start Scanning :).
xsane

-
How to Install Printer Drivers for Xubuntu Linux