OEL 6.X Recovering Partition/Disk
Hi! The Tutorial shows you Step-by-Step How to Install and Getting Started with TestDisk Partitions Scan and Disk Recovery Tools on Oracle Linux 6.x i686/x8664.
Inside the Article you’ll Find a Link to Detailed Guide on Get Started Scanning and Recovering Partitions on Oracle Linux.

-
Open Terminal Window
(Press “Enter” to Execute Commands).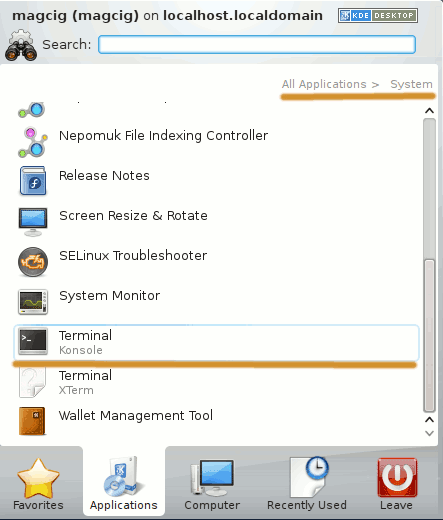
-
Download Latest TestDisk for Linux
Get the Latest TestDisk Distribuition Archive 32/64-bit.
-
Double-Click/Right-Click on Archive and Extract into /tmp.
Or from Command Line:
tar xvf $HOME/Downloads/testdisk*.tar.bz2 -C /tmp/

-
Relocate TestDisk for Oracle Linux.
su -c "mv /tmp/testdisk* /opt/testdisk"
-
Making TestDisk Symlinks.
su -c "ln -s /opt/testdisk/testdisk_static /usr/bin/testdisk"
su -c "ln -s /opt/testdisk/photorec_static /usr/bin/photorec"
su -c "ln -s /opt/testdisk/fidentify_static /usr/bin/fidentify"
-
Getting-Started Recover Disk Partitions on Oracle Linux
This recovery example guides you through TestDisk step by step to recover a missing partition and repair a corrupted one.