Brew Quick Start for macOS 10.10 Yosemite
The Tutorial Clearly and Simply shows you Step-by-step How to Install and Getting-Started with Homebrew and the brew Command on macOS 10.10 Yosemite.
It is a Basic Task but Require a Minimal confidence with the Command Line and Often some Details are Granted as Known from Everybody…
The HomeBrew Tool is Very Useful if you Want to Easily Extend the Mac Software Library fishing on the *NIX Aquarium the Good Stuff! ;)
-
Open a Command Line Terminal Window
Applications >> Utilities >> Terminal
(Press “Enter” to Execute Commands).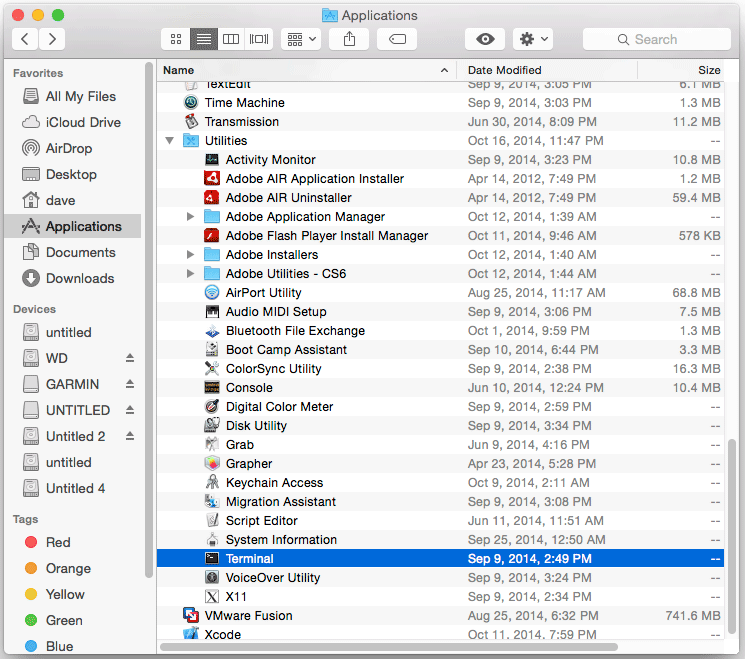
-
Login as SuperUser
sudo su
If Got “User is Not in Sudoers file” then see: How to Enable sudo
-
Change Directory
cd /usr/local
-
Installing Homebrew
mkdir homebrew && curl -L https://github.com/mxcl/homebrew/tarball/master | tar xz --strip 1 -C homebrew
If Not XCode Installed then Install Mac Command line Tools
Mac Command-Line-Tools -
SetUp the PATH for Easy Installing and Using Homebrew and New Stuff.
exit
nano $HOME/.bashrc
Append this Line:
export PATH=/usr/local/homebrew/bin:$PATH
Load the New PATH Variable:
bash
-
Test Homebrew Installation
bash
which brew
-
Searching for New Packages with HomeBrew
brew search [packageName]
Find the List of Available and Installable Packages for HomeBrew.
-
Installing New Packages with HomeBrew
sudo brew install [packageName]
All the New Package Installed by Homebrew will be Available because they are Installed Into the Same Location as the brew one!
