Oracle Java JDK 7 Quick Start Lubuntu 14.04 Trusty LTS 32/64-bit
The Guide shows you in Easy-Steps How to Install and Getting-Started with the Oracle-Sun Official Java SE JDK 7 for Lubuntu 14.04 Trusty Tahr LTS i386/amd64 Desktop Linux.
To SetUp Oracle JDK you will need to Use the update-alternatives Tool to Update your System Java to 1.7 JDK.
To the How to Download and Install Oracle JDK 8+ on Lubuntu 14.04 Trusty Bottom there is a Link for Quick Start with Java JDK 7 Development and also to Install the Java Web-Server Tomcat 7 for Lubuntu Linux.
The Contents and Details of How to Download and Install Oracle JDK 8+ on Lubuntu 14.04 Trusty are Expressly Essentials to Give Focus Only to the Essentials Instructions and Commands and Make the Tut Easier to Understand ;)

-
Download Oracle Java SE JDK for Linux.
-
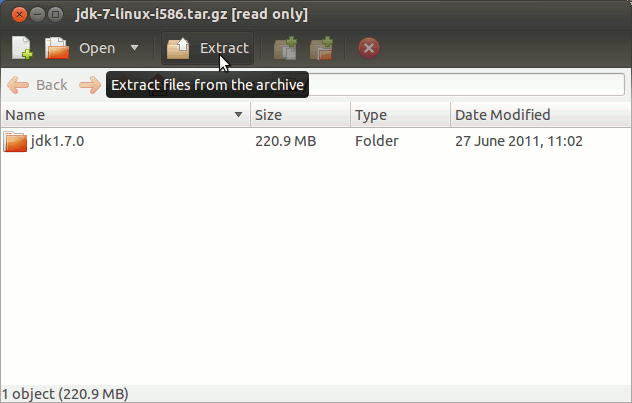
Double-Click on the tar.gz Archive and Extract into/tmp
Or from Shell:tar xvzf ~/Downloads/jdk-7*.tar.gz -C /tmp/
-
Open a Command Line Terminal Window
Ctrl+Alt+t
(Press “Enter” to Execute Commands).
-
Relocate JDK 7
sudo su
If Got “User is Not in Sudoers file” then see: How to Enable sudo
To Make a jvm Directory Only if Not already there
(You can directly copy & paste the commands into the terminal)if [ ! -d "/usr/lib/jvm" ]; then mkdir /usr/lib/jvm; fi
Set the root superUser as owner
sudo chown -R root:root /tmp/jdk1.7*
Then to shift the Oracle JDK 7 contents
mv /tmp/jdk1.7* /usr/lib/jvm/
-
Installing Oracle Java JDK 7
update-alternatives --install /usr/bin/java java /usr/lib/jvm/jdk1.7*/bin/java 1065
update-alternatives --install /usr/bin/javac javac /usr/lib/jvm/jdk1.7*/bin/javac 1065
update-alternatives --install /usr/bin/jar jar /usr/lib/jvm/jdk1.7*/bin/jar 1065
update-alternatives --install /usr/bin/javaws javaws /usr/lib/jvm/jdk1.7*/bin/javaws 1065
Checking or Setting the System Java Version in Use
withupdate-alternatives --config java
And for the Java Compiler instead:
sudo update-alternatives --config javac
To Switch of Java Version Just Enter the Selection Number on First, Column. :)
Last Achieve the SuperUser session:exit
-
Setting JAVA_HOME User Environment Variable (Optional).
su [myUserName]
Or simply:
exit
And Edit the Bash environment Configuration file
nano $HOME/.bashrc
Append:
export JAVA_HOME=/usr/lib/jvm/jdk1.7[uX]
Replace the [uX] Looking for the Installed Java 7 Version with:
ls /usr/lib/jvm/
Ctr+x to Save & Exit from nano Editor :)
Load New Bash Config:bash
-
Testing New Java JDK 7 Installation:
java -version
-
Getting-Started with Java Development.
How to Install Eclipse for Java Developers on Lubuntu
Now Thanks to Oracle-Sun Corporation you are able to Successfully Start with Java JDK Use & Development.