Getting-Started with Eclipse Java SE for Mac 10.10 Yosemite
The Unix Tutorial shows you Step-by-Step How to Install and Getting-Started with Eclipse IDE for Java Developers on macOS 10.10 Yosemite BSD Desktop.
On the Eclipse Java SE Installation Guide for Mac Yosemite 10.10 Link to Quick Start Eclipse Development with Java SE IDE on Mac.
The Eclipse Platform, and all the tools needed to develop and debug it: Java and Plug-in Development Tooling, Git and CVS…

-
Download Latest Eclipse Java SE for macOS:
-
Double-Click on Eclipse Zip to Extract.
-
Drag & Drop Eclipse Into Applications Folder.
-
Open Terminal Window
(Press “Enter” to Execute Commands)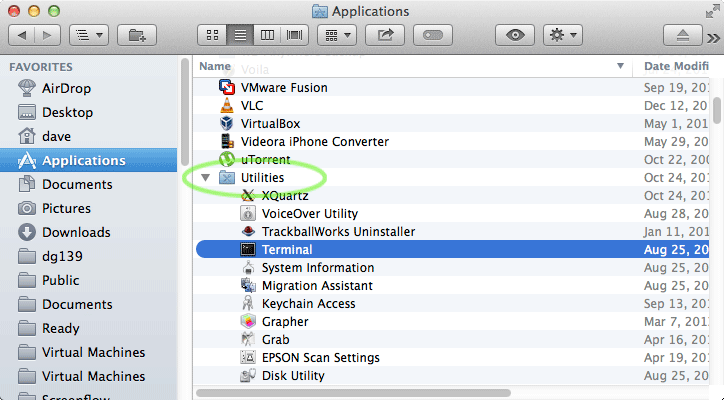
In case first see: Terminal QuickStart Guide.
-
Check/Install Required Oracle Java JDK 7/8.
java -version
The Output Should Contains a “Java SE 1.7+“, If Not then Follow Linked Installation Guide:
How to Install Required Oracle JDK 8+ on macOS
-
Double-Click on Eclipse Icon to Launch Eclipse IDE.

Solving App can’t be Opened because it is from and unidentified developer -
Eclipse Java SE Quick Start Hello-World Project:
Eclipse Java Hello-World