Linux Mint 17.1 Rebecca Quick Start on VMware Fusion 7
Hi! The Tutorial shows you Step-by-Step How to Install and Getting-Started with Linux Mint 17.1 Rebecca LTS i386/amd64 Mate Desktop on VMware Fusion 7 for macOS.
To Make the Entire Mint 17.1 Rebecca Mate Installation VMware Fusion 7 Easier to Figure Out the Post Includes the Basic Screenshots of All GUI Steps involved.
The purpose of Linux Mint is to produce a Modern, Elegant and Comfortable operating system which is both Powerful and Easy to use.

-
Download Mint 17.1 Rebecca Mate Release.
-
Create a New Virtual Machine.

-
Select Linux Mint 17.1 Rebecca Mate Desktop ISO Image.


-
Click on Customize Settings.

-
Set the Name.
-
Then Set the Disk Size to At Least 64Gb.

Take Note: The Disk then will be Auto-Growing and 64Gb here it’s Just the Upper Limit!

-
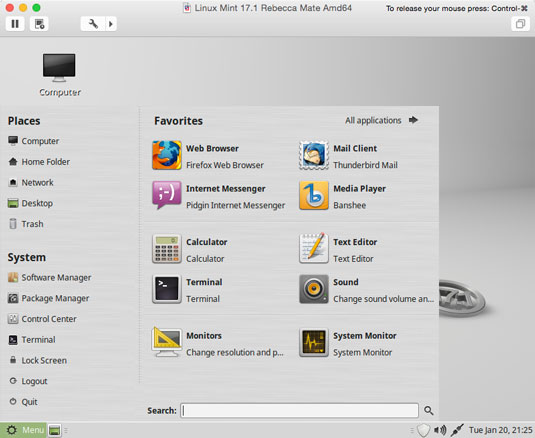
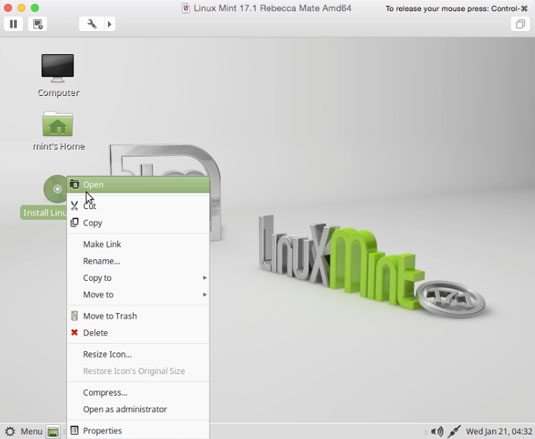
Start the Linux Mint 17.1 Rebecca Mate Installation.

-
Double-Click/Right-Click on Desktop Icon to Start Linux Mint 17.1 Rebecca Installer
-
Select Installation Language on Welcome Screen.
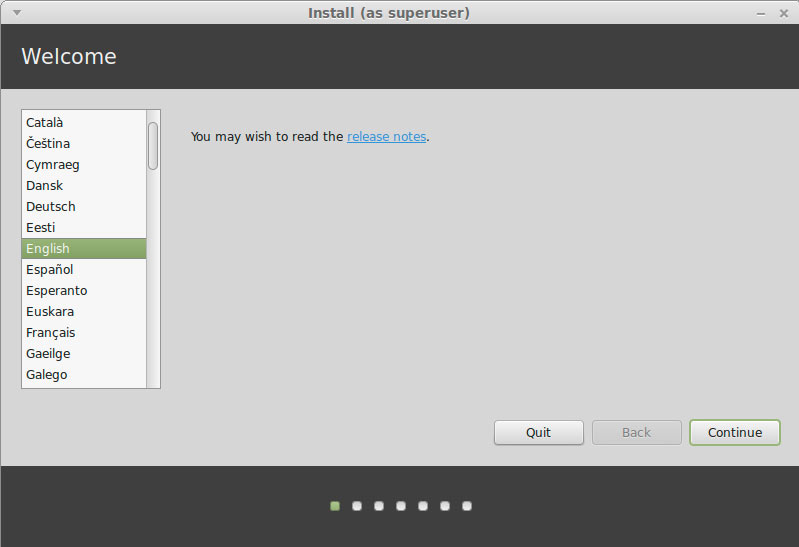
-
Formatting Linux Mint Partition.
The Best Choice is to Make a LVM Partitioning Group

-
Set the Time-Zone.
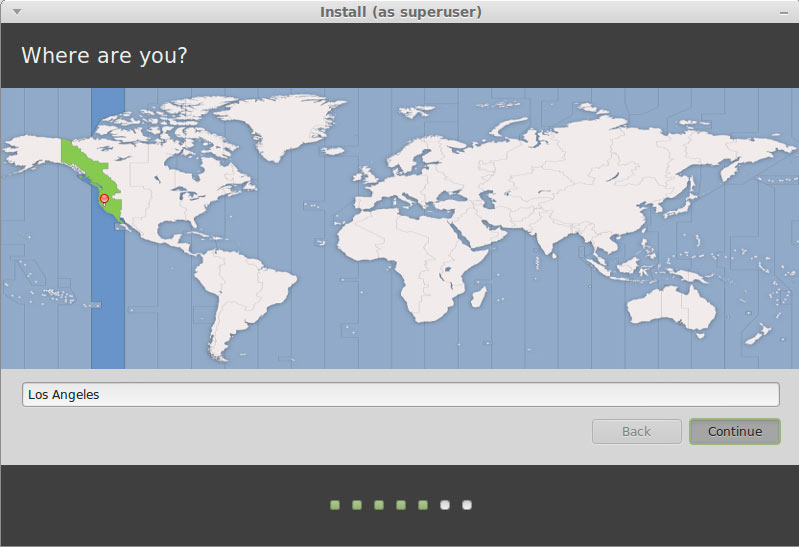
-
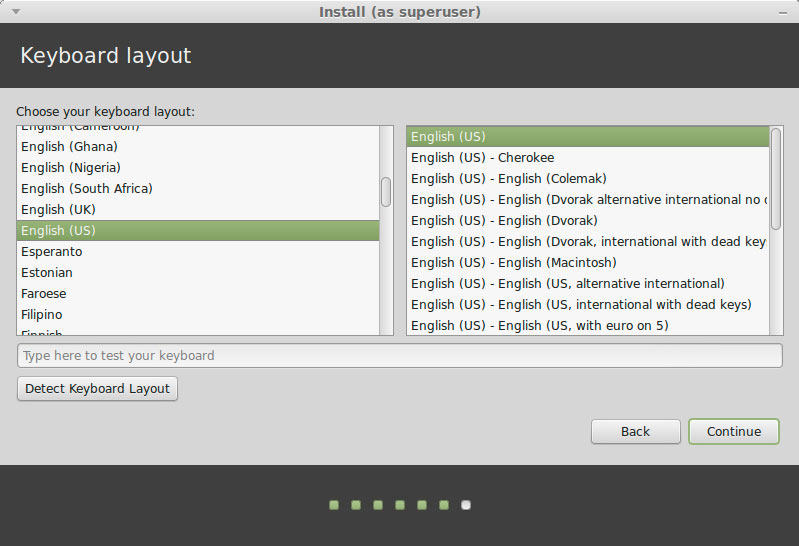
Set the Keyboard Layout.
-
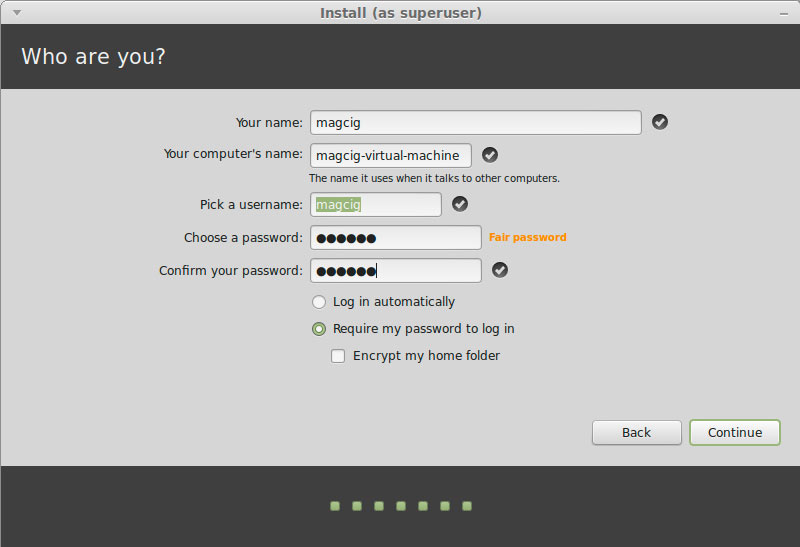
SetUp a Regular User.
-
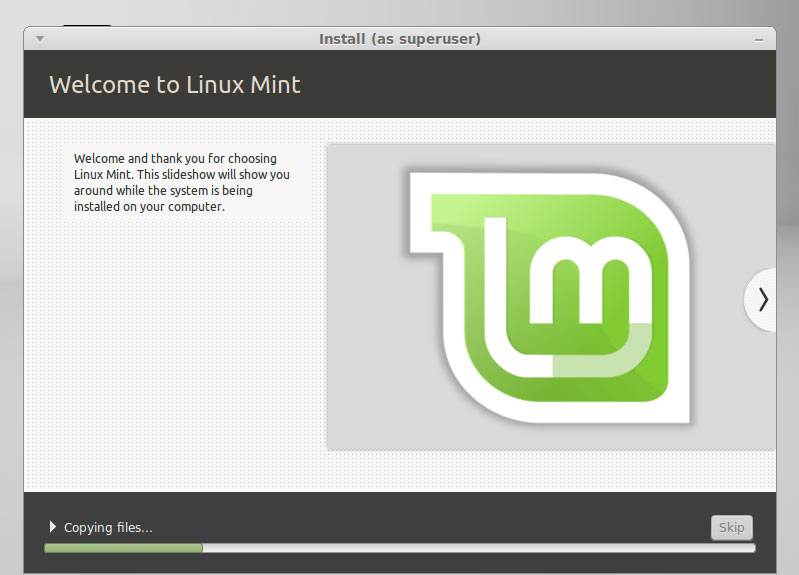
Installing Linux Mint 17.1 Rebecca.
-
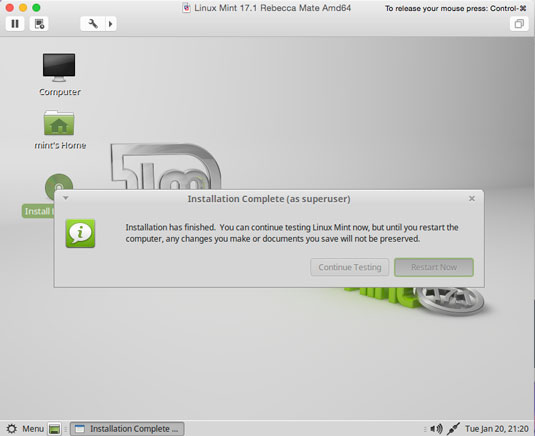
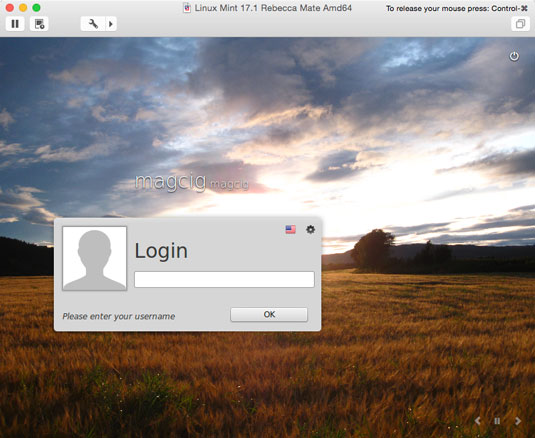
Reboot Into Linux Mint 17.1 Rebecca Mate Desktop! :)
-
Install the VMware Tools for Mint 17.1 Rebecca: