SeaMonkey Quick Start for Linux Mint 17.1 Rebecca 64-bit
Hi! The Tutorial shows you Step-by-Step How to Install Mozilla SeaMonkey Web Browser and eMail Client for Linux Mint 17.1 Rebecca Mate/Cinnamon/KDE/Xfce Amd64 GNU Desktop.
The Same Procedure with only some Little changes will Work also on Other Linux Mint Releases.
The How to Install SeaMonkey on Linux Mint 17.1 Rebecca 64-bit Include the Basic ScreenShots to Make Easier the Whole Visualization Steps Involved.

-
Download Latest SeaMonkey Linux Stable Release
First, Select the Latest Seamonkey Release and then Access the Contrib Directory…
-
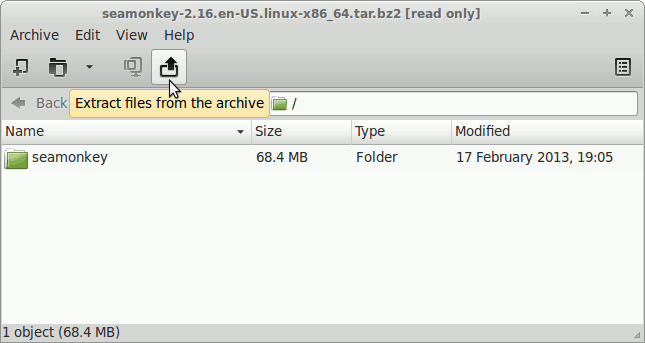
Double-Click on Archive and Extract into /tmp
-
Open a Terminal Window
(Press “Enter” to Execute Commands)
In case first see: Terminal QuickStart Guide.
-
Relocate SeaMonkey.
sudo su -c "mv /tmp/seamonkey* /opt"
Create a Symlink:
sudo ln -s /opt/seamonkey*/seamonkey /usr/local/bin/seamonkey
-
Finally, to Launch SeaMonkey
From Terminal:seamonkey
How to Easy Creating a SeaMonkey Desktop Quick Launcher
How to Install Evernote Clone on Linux Mint:
Installing Nixnote on Linux Mint.