Linux CentOS NoMachine Connection Quick Start
How to Make the Initial Free NoMachine Server SetUp for Linux / Mac / Windows NoMachine Clients Access on Network from RHEL-based GNU/Linux – Step by step Tutorial.
Then it will be Necessary to Installing the NonMachine Software also on All Clients who wish to Access this location.
The Server is the machine To which you want to Access. The Client is the machine From which you Remotely Access.
NoMachine let Mobile Staff Connect to their Office PC with Full Access to their Data and Applications, Facilitate Collaboration between Employees, Enable Fast, Effective Remote Assistance via the desktop or the web, empower administrators to control and deploy thousands of desktops in the corporate datacenter, all with infinite scale and flexibility.
NoMachine is a proven Hosted desktop and Remote Access Solution that helps you Consolidate and Deliver all your desktops and Applications, whether physical, virtual or “in the cloud”.

-
How to Install NoMachine Software on CentOS Linux
-
NoMachine Linux Server Connection Set-Up.
-
Run NoMachine on CentOS
-
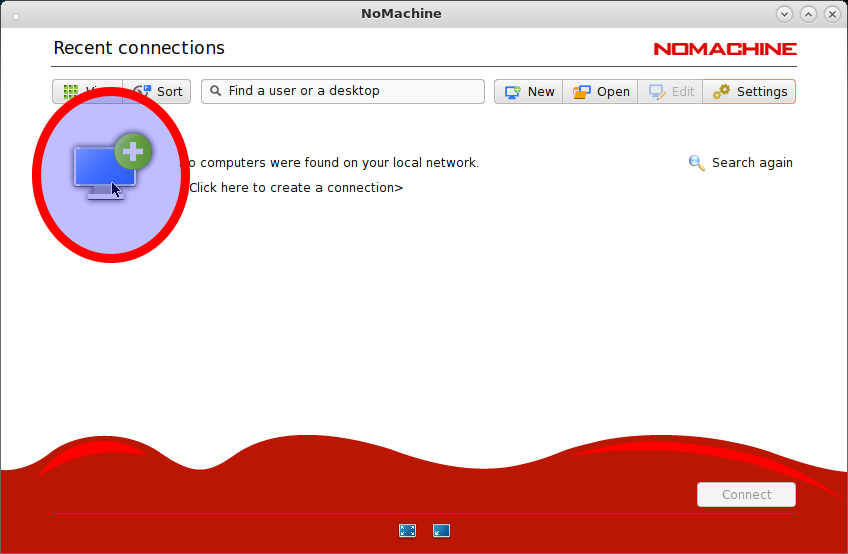
Create a New Connection on CentOS Server
-
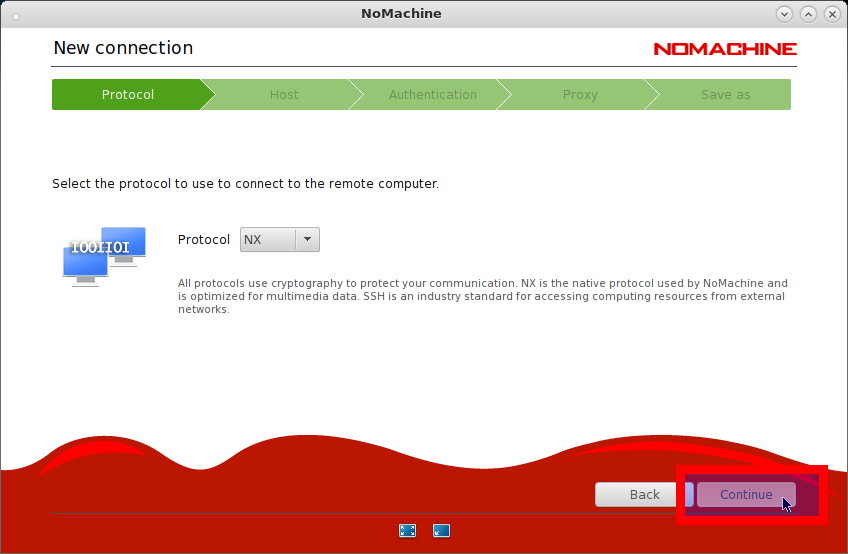
Select the Protocol
Or Simply Click on Continue
-
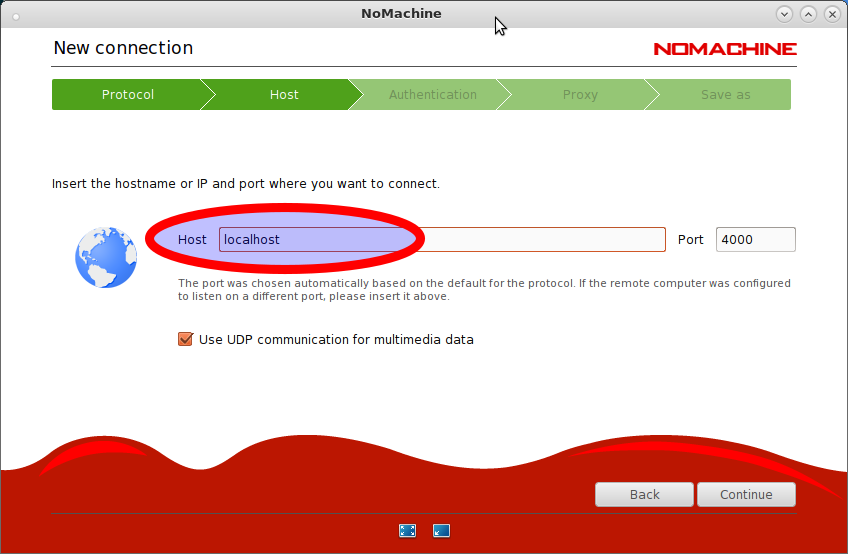
Select the Host URL
Or Simply ‘localhost’ for Connection on Local Network
-
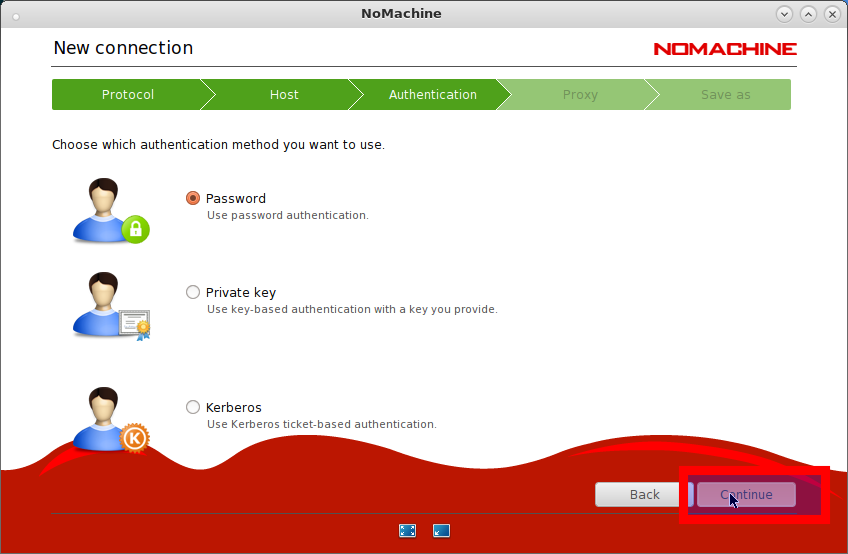
Choose the Authentication Method
You can simply choose the User/Pass mode
-
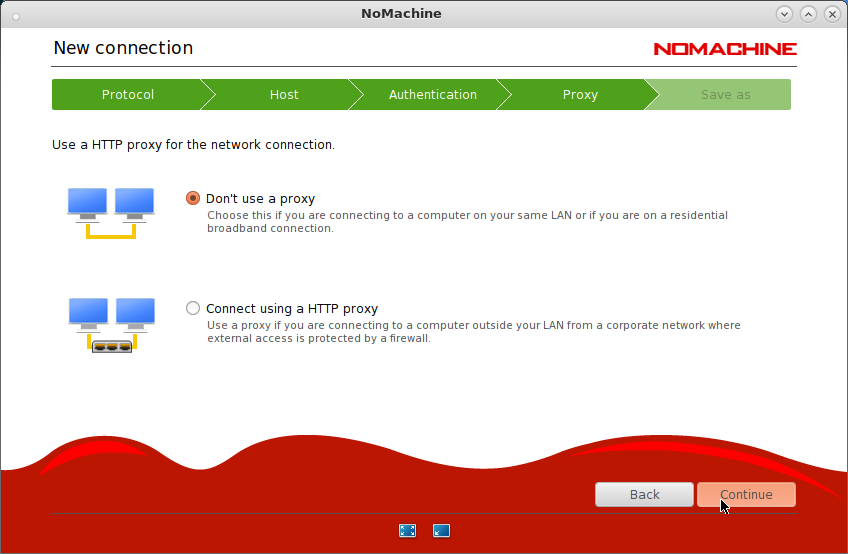
Possibly Set a Proxy
-
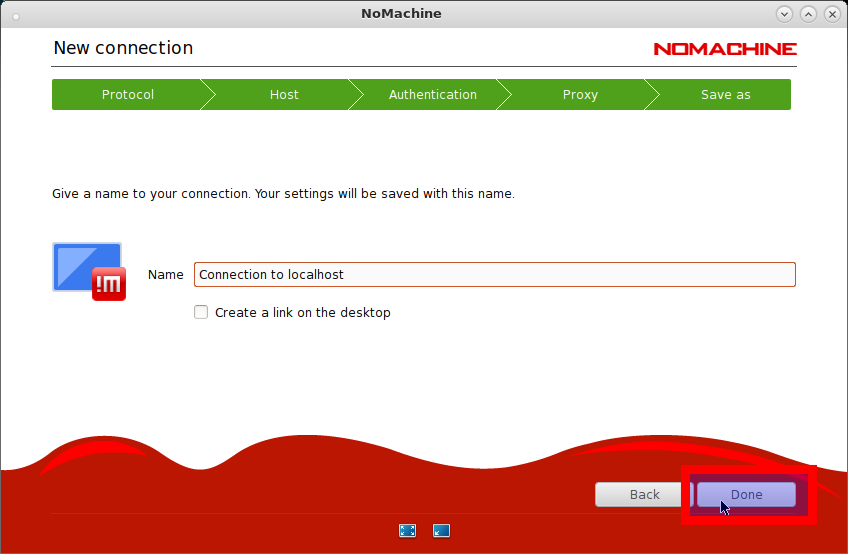
Put a Name to the Connection
And Click on Done
Then the CentOS Server desktop will be Available on NoMachine Local Network!
-
-
How to Install NoMachine Software on Linux Clients
-
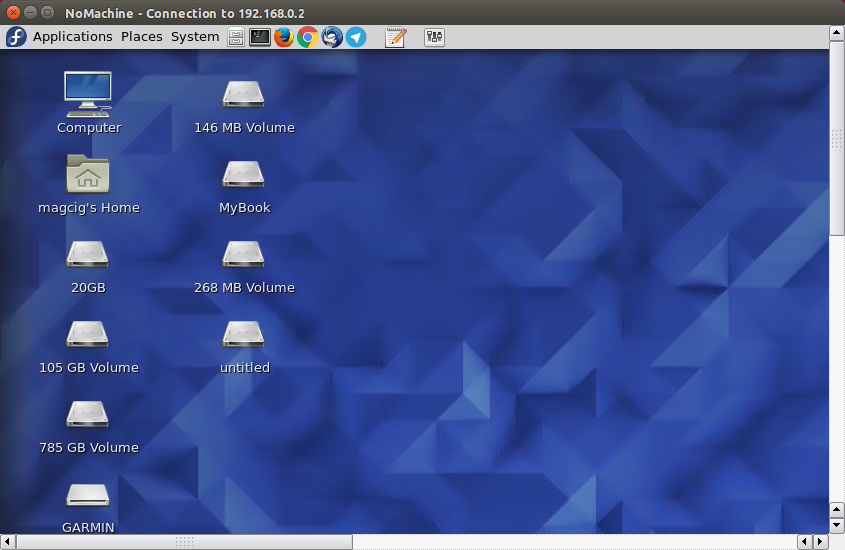
NoMachine Clients Remote Access to the NoMachine CentOS Server.
-
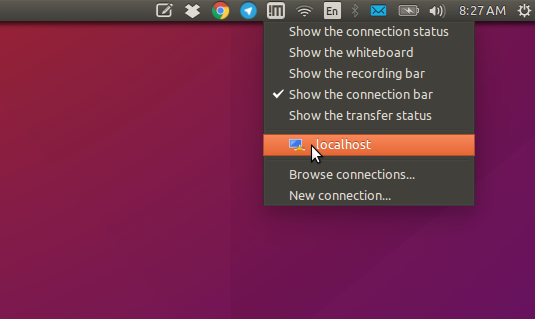
On desktop Taskbar Click on the NoMachine Icon
Then simply Select the Available Connection.
-
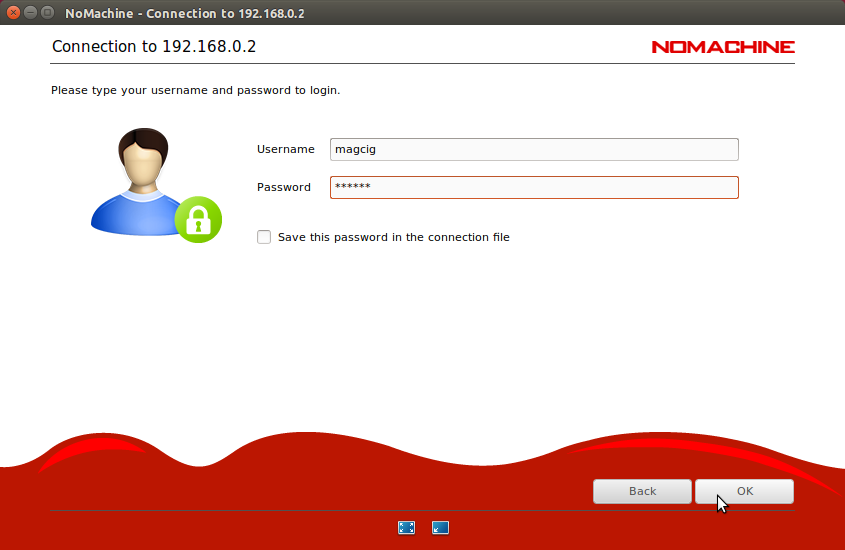
Login with the NoMachine User/Pass Credentials
-
Remote Connection to desktop on localhost
-