Adobe Reader Quick Start for Ubuntu Budgie
Hello Ubuntu Budgie User! The Tutorial shows you Step-by-Step How to Install Latest available Adobe Acrobat Reader 9.x for Ubuntu Budgie GNU/Linux Desktop.
Especially relevant: at the Same Time I’m also Showing Here an Easy Way of Installing Downloaded Packages .deb with Dependencies for Linux Ubuntu Budgie.
Finally, to the article Bottom there are Links to other articles showing How to Install Google-Chrome and Evernote Clone for Ubuntu Budgie

-
Open Terminal Window
(Press “Enter” to Execute Commands)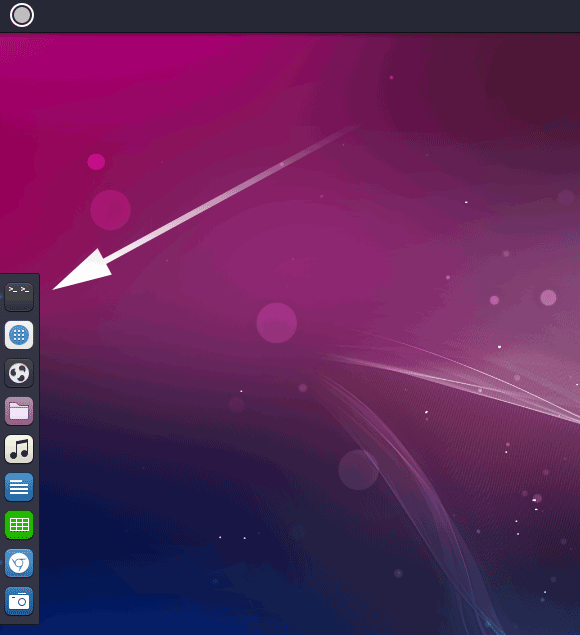
In case first see: Terminal QuickStart Guide.
-
Download Latest Acrobat Reader .deb 32-bit Package
-
Check/Install GDebi Package Installer.
which gdebi
If not there then:
sudo apt install gdebi-core gdebi
If Got “User is Not in Sudoers file” then see: How to Enable sudo
-
Installing Adobe Reader
cd $HOME/Downloads
sudo gdebi ./AdbeRdr*.deb
Finally, to Fix the Setup you may need to Install also the following Libraries:
sudo apt install libxml2:i386 libstdc++6:i386
exit
Then Thanks to the Adobe Software Company you can Enjoy the Best Pdf App Adobe Reader for Ubuntu Budgie Linux.
How to Install Google-Chrome Web Browser on Ubuntu Budgie:
Chrome Setup on Ubuntu Budgie.
How to Install Evernote Linux Clone on Ubuntu Budgie:
How to Install Evernote Clone on Ubuntu Budgie.