Latest NGINX Linux Mint 17 Install
Hello Mint User! The Tutorial shows you Step-by-Step How to Install Latest NGINX Linux Mint 17.x LTS 32/64-bit Mate/Cinnamon/KDE/Xfce Desktop.
Because NGINX is a Free, Open-Source, High-Performance HTTP Server and Reverse Proxy, as well as an IMAP/POP3 Proxy Server.
And NGINX is known for its high performance, stability, rich feature set, simple configuration, and low resource consumption.
Moreover, the Nginx ‘Mainline’ version is generally regarded as more reliable because we port all bug fixes to it, and not just critical fixes as for the stable branch.
Finally, it’s Necessary to Manually Set Up the Apt NGINX Repo to Get Installed the Latest Mainline Release, because the Default Repos are Serving an Older NGINX Release…

-
Open a Shell Terminal emulator window
(Press “Enter” to Execute Commands)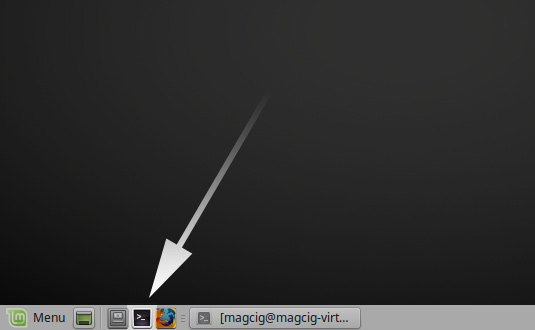
In case first see: Terminal QuickStart Guide.
-
How to Setup NGINX Mainline Linux Mint Repo
-
Installing NGINX.
sudo apt update
sudo apt -y install n/nginx
-
Next to Start NGINX on the default Http port
(Necessary Only if also Apache is installed)sudo service apache2 stop
sudo service n/nginx restart
-
Finally, Testing NGINX Installation
On a localhost with curl:curl http://127.0.0.1
Or the same address on a Browser…
-
Moreover, to Edit the NGINX Configuration File.
sudo nano /etc
/nginx/conf.d/default.conf