Install Oracle JDK 9 Antergos
Hello Arch Linux User! The Tutorial shows you Step-by-Step How to Download and Install Oracle JDK 9 Arch Linux Desktops.
Especially relevant: for Installing Oracle JDK 9 on Arch Linux you have to Manually Setup it.
Moreover, on the Article Bottom there is a Link to Quick Start with Java JDK 9 Development on Arch Linux.
Finally, to Make the Entire Easy to Understand and Visualize the Post Includes the Basic Screenshots of All GUI Steps involved.

-
Open a Command Line Terminal Window
Kickoff and Search for “term”
(Press “Enter” to Execute Commands)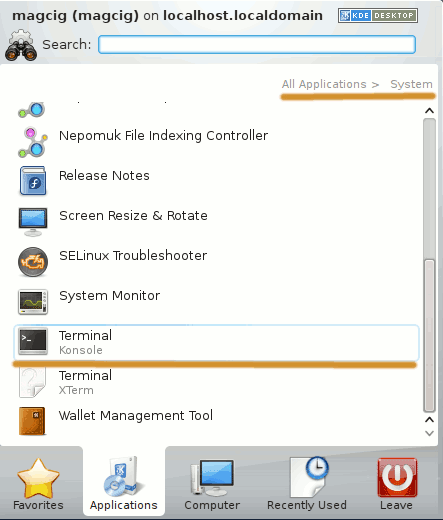
In case first see: Terminal QuickStart Guide.
-
Download Oracle Java SE JDK 9 Linux Release:
-
Then Double-Click on Archive and Extract Into /tmp.

Or from Shell:tar xvzf ~/Downloads/jdk-9*.tar.gz -C /tmp/
-
Next Relocate Oracle JDK 9
First, Login as SuperUser to make commands shorter:su
If Got “User is Not in Sudoers file” then Look:
Solution
chmod +x /tmp/jdk1.9*/bin/*
if [ ! -d "/usr/lib/jvm" ]; then mkdir /usr/lib/jvm; fi
The above Command is used to Create a jvm Directory if not already there.
And Set the SuperUser as owner:sudo chown -R root:root /tmp/jdk1.9*
Reiterate the Execution Permission over the Java binaries
chmod -R +x /tmp/jdk1.9*/bin
Finally, Shift the Java contents with
mv /tmp/jdk1.9* /usr/lib/jvm/
-
Follow to Setup Needed Symlinks
First, Copy the Exact Path to Insert in:cd /usr/lib/jvm/jdk1.9*
pwd
Select & Ctrl+Shift+c to Copy the Path :)
cd ..
Release the potentially existing Symlinks:
unlink default
unlink default-runtime
For the JDK make:
ln -s [copiedJdkPath] default
Ctrl+Shift+v to Paste the Path.
And for JRE:ln -s [copiedJdkPath]/jre default-runtime
With this you Should be Done!
-
Finally, Test Oracle JDK 9 Java Install.
java -version
On the Output simply must Not be present an Openjdk to Certify it…
-
(Optional) SetUp the Java JDK 9 Environment Variables
Use the PATH copied in Previous step..nano /etc/profile.d/oraclejdk9.sh
export J2SDKDIR=[copiedJdkPath]
export J2REDIR=$J2SDKDIR/jre
export JAVA_HOME=$J2SDKDIR/
Ctrl+x to Save & Exit from nano :)
nano /etc/profile.d/oraclejdk9.csh
setenv J2SDKDIR=[copiedJdkPath]
setenv J2REDIR=$J2SDKDIR/jre
setenv JAVA_HOME=$J2SDKDIR/
-
Getting-Started with Oracle Java JDK 9 Development