Scanner Epson Stylus on Linux Mint Setup
Welcome, Mint User! The Tutorial shows you Step-by-Step How to Install Epson Stylus Scanner in Mint GNU/Linux.
And the Scanner Epson Stylus Linux Mint Installation is Quick and Easy because it’s enough to Download and Setup the Epson Image Scan! Software.

-
Open a Shell Terminal emulator window
(Press “Enter” to Execute Commands)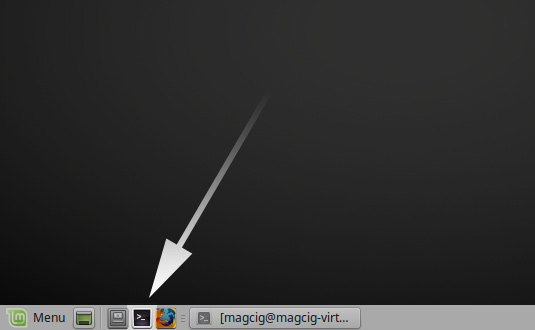
In case first see: Terminal QuickStart Guide.
-
Download Epson Image Scan Driver & Software for GNU/Linux
Get the imageScan Bundle .deb.
-
Extract Image Scan Bundle
Evantually Double-Click on Downloads and Extract into /tmp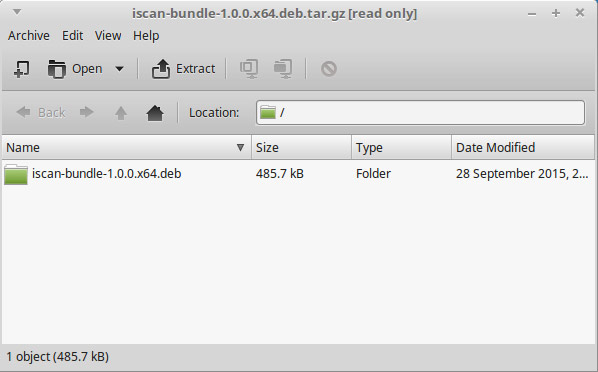
Or from Shell:
tar xvzf ./*scan*.deb.tar.gz -C /tmp/
-
Install the Software Dependencies.
sudo apt-get install xsltproc
If Got “User is Not in Sudoers file” then see: How to Enable sudo
-
Then Install imageScan Software for Linux
Change to the software Location:cd /tmp/iscan*
Then Run the Installer:
sudo ./install.sh
-
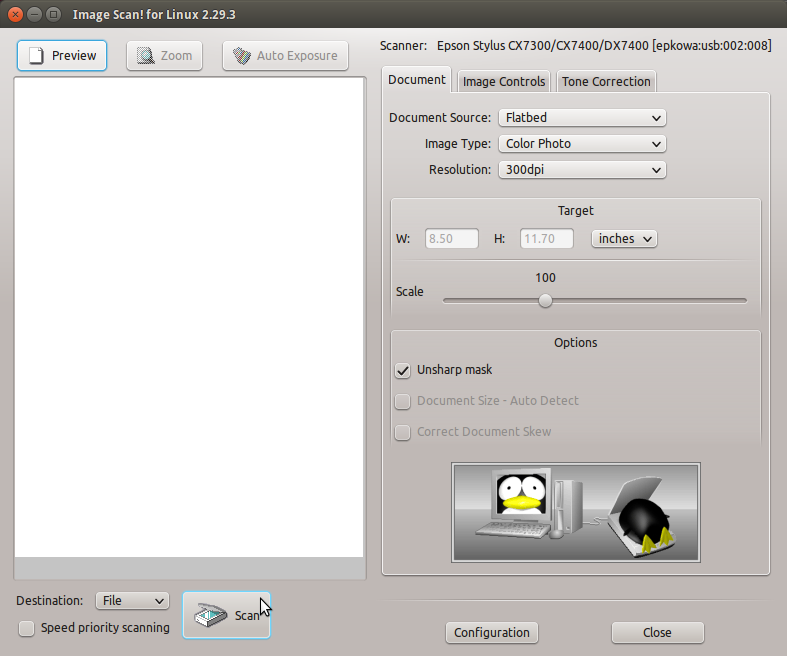
Launch imageScan and Start Scanning :)
Search on Menu.Or from Terminal simply with:
imagescan
Mint Best Software:
Best Software to Install on Linux Mint.
How Install Spotify Client on Linux Mint:
Setup Spotify Linux Mint.
