GitEye Ubuntu 17.10 Install
Hi! Empower your development workflow on Linux with our detailed tutorial. Join us as we walk you through the step-by-step process of Installing GitEye, enabling seamless version control and collaboration for your projects on Ubuntu 17.10 Artful Aardvark GNU+Linux Desktop.
And CollabNet GitEye for Ubuntu Artful is an Intuitive Graphical Git Client with Integration to your favorite Planning, Tracking, Code Reviewing, and Build Tools.
Moreover, Git comes with built-in GUI tools for committing (git-gui) and browsing (gitk), but there are several third-party Tools for Users looking for Platform-specific Experience.
Finally, this Guide presents to you a GitEye Ubuntu 17.10 System-Wide Setup, then for a local one simply execute the software as is.

-
Download CollabNet GitEye Client for Linux
-
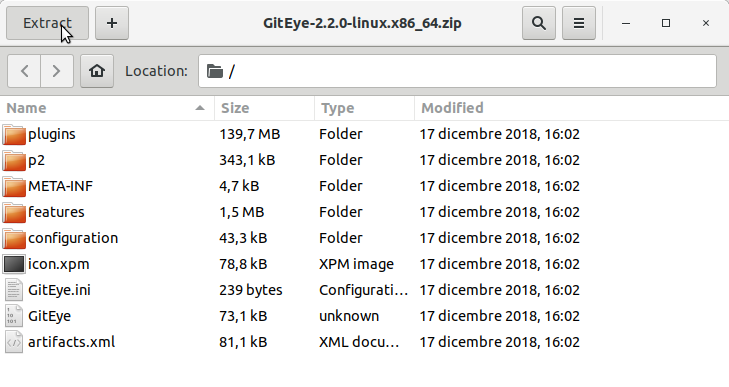
Double-Click and Extract into /tmp/GitEye.
-
Open a Command Line Terminal Window
Ctrl+Alt+t on Desktop
(Press “Enter” to Execute Commands)
In case first see: Terminal QuickStart Guide.
-
Relocating GitEye
Set the SuperUser as Owner:sudo chown -R root:root /tmp/GitEye
Then Switch Contents:
sudo mv /tmp/GitEye /opt/GitEye
If Got “User is Not in Sudoers file” then see: How to Enable sudo
-
Launching GitEye from Shell
Create a Symlink to make it Easier:sudo ln -s /opt/GitEye/GitEye /usr/local/bin/GitEye
Then Launch it simply with:
GitEye
-
How to Create a GitEye Desktop Menu App Launcher