Avidemux Kubuntu 17.10 Installation Guide
Hello Kubuntu User! The Tutorial shows you Step-by-Step How to Install and Getting-Started with the Latest Avidemux Release on Kubuntu 17.10 Artful Aardvark GNU/Linux Desktop.
And the Latest Avidemux for Kubuntu 17.10 installation is Provided by the Work and Gentle Concession of the GetDeb Project Developers.
Moreover, Avidemux is a free Video Editor designed for simple Cutting, Filtering and Encoding tasks.
Finally, Avidemux supports many file types, including AVI, DVD compatible MPEG files, MP4 and ASF, using a variety of codecs. Tasks can be automated using projects, job queue and powerful scripting capabilities.

-
Open a Shell Terminal emulator window
Start Typing ‘term’ on Desktop.
(Press “Enter” to Execute Commands)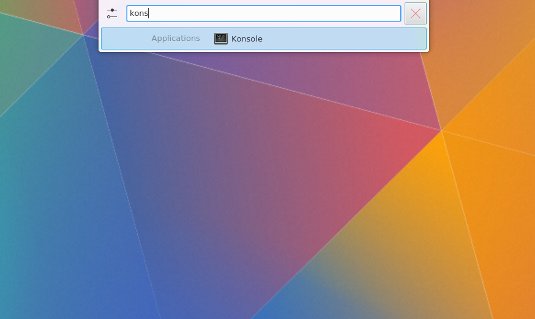
In case first see: Terminal QuickStart Guide.
-
Download GetDeb Repos Package Installer for Kubuntu
-
Installing GetDeb Repos on Kubuntu.
cd ~/Downloads
sudo dpkg -i getdeb-repo*.deb
If Got “User is Not in Sudoers file” then see: How to Enable sudo
-
Then Amend GetDeb Repo
(That’s only because the Latest Avidemux is not still available for 17.10…)sudo nano /etc/apt/sources.list.d/getdeb.list
Change “artful-getdeb” in “zesty-getdeb”!
Ctrl+x to Save & Exit from nano editor :) -
Refreshing Kubuntu Repositories.
sudo apt update
-
Finally, to Install Avidemux for Kubuntu.
sudo apt install avidemux2.6-qt
-
How to Quick Start with Avidemux Editor