Python 3 Virtualenv Ubuntu Usage
Hi! The Tutorial shows you Step-by-Step How to Getting-Started with Python 3.X Virtualenv on Ubuntu 16.04 Xenial LTS GNU/Linux.
And a Python 3 Virtualenv on Ubuntu 16.04 Setup make use of the Python 3 venv Tool to Make Virtual Environments.
Finally, each venv Virtual Environment has its own Python binary and can have its own independent set of installed Python packages in its site directories.
-
Open a Terminal Shell emulator window
Ctrl+Alt+t on Desktop
(Press “Enter” to Execute Commands)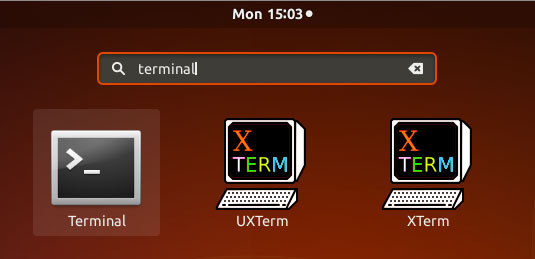
-
Install Virtualenv Python 3 on Ubuntu
-
To Make a Python 3 Virtual Environmnet.
python3 -m venv test ~/Envs/test
-
Then to Activate Virtual Environment.
source ~/Envs/test/bin/activate
-
To List All the Existing Virtual Environments.
ls $WORKON_HOME
-
To Switch the Virtual Environmnet.
python3 -m venv test ~/Envs/essai
source ~/Envs/essai/bin/activate
Show the Working Virtual Env:
echo $VIRTUAL_ENV
-
To Install Software into the Virtual Environmnet.
For Example:
pip install django
-
To List All the Virtual Environmnet Packages.
lssitepackages
-
To Automatically Run a Command after Environment Creation.
echo '[bash-command]' > $WORKON_HOME/postactivate
For Instance to Automatically Change to the New Env Directory:
echo 'cd $VIRTUAL_ENV' > $WORKON_HOME/postactivate
-
To Automatically Installing Commonly Used Tools.
echo 'pip install [myGoodTool]' > $WORKON_HOME/postmkvirtualenv
For Example:
echo 'pip install sphinx' > $WORKON_HOME/postmkvirtualenv
Getting-Started with Python Selenium Testing Browser Environment: