Install Html5 Boilerplate on Xubuntu 18.04
[ad_slider autoplay=”true” interval=”8″ count=”5″]
How to Download and Install HTML5 Boilerplate on Xubuntu 18.04 Bionic LTS GNU/Linux – Step by step Tutorial.
And the HTML5 Boilerplate for Xubuntu assembles the Best Tools for you to Get Started with your Next Web Development Project.
So that HTML5 Boilerplate comes with a set of files that make it easy to do cross-browser development.
Moreover, the Git Initial SetUp Described here is the Best to Keep your HTML5 BoilerPlate Installation Easily and Constantly Freshly Updated.
Finally, to the BoilerPlate Installation Xubuntu Guide Bottom you will find Link to Quick Start with HTML5 BoilerPlate Development on Xubuntu.

-
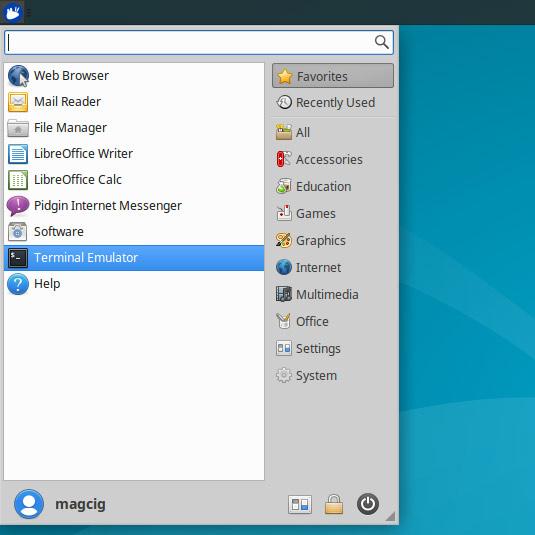
Open a Terminal Shell emulator window
Ctrl+Alt+t on desktop
(Press “Enter” to Execute Commands)
In case first see: Terminal Quick Start Guide.
-
Then Install Git Version System.
sudo apt install git
-
Download Latest HTML5 BoilerPlate Release.
cd
git clone git://github.com/h5bp/html5-boilerplate.git
Then you Update your HTML5 BoilerPlate Installation with:
cd html5-boilerplate
git pull origin master
-
Getting Started in HTML5 Boilerplate Development:
HTML5 Boilerplate Quick Start[ad_slider autoplay=”true” interval=”8″ count=”5″]
[ad_slider autoplay=”true” interval=”8″ count=”5″]