Android App Inventor 2 Xubuntu 18.04 Install
Hi! The Tutorial shows you Step-by-step How to Install App Inventor 2 on Xubuntu 18.04 Bionic LTS GNU/Linux.
And the Android App Inventor for Xubuntu 18.04 Represents the Easiest Way for Getting-Started to Create Android Apps.
Moreover, the Use of Android App Inventor on Xubuntu is Open to Everybody because It Do Not Require Any particular Coding Skill.
Especially relevant: at the Same Time I’m also Showing Here How to Install Downloaded Packages .deb with Dependencies for Xubuntu Linux.
Finally, included instructions on How to Getting-Started with Android App Inventor Hello-World.

-
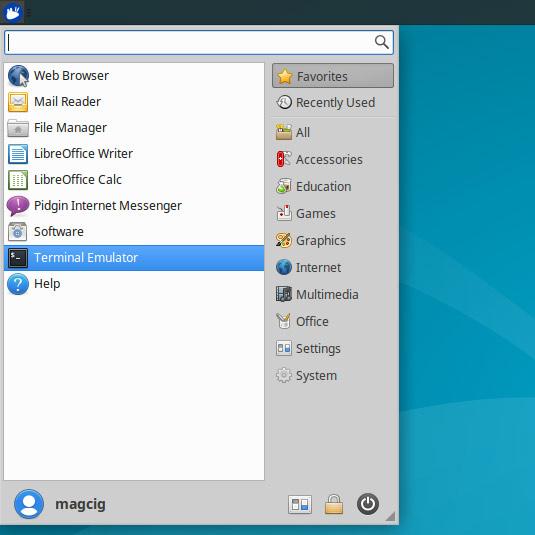
Open a Terminal Shell emulator window
Ctrl+Alt+t on desktop
(Press “Enter” to Execute Commands)
In case first see: Terminal QuickStart Guide.
-
Download the App Inventor for Xubuntu Linux
App Inventor .deb Package -
Checking/Installing GDebi Package Installer.
which gdebi
If Not there then:
sudo apt-get update
sudo apt install gdebi-core gdebi
If Got “User is Not in Sudoers file” then Look: Solution
-
Then to Install Android App Inventor
cd && cd Downloads
gdebi ./appinventor*.deb
-
Next Amend User’s Path with
/necho "export PATH=$PATH:/usr/google/appinventor/commands-for-Appinventor"
> $HOME/.bashrc
And load the New Path simply with:
bash
-
How to Run 32-bit Binary on 64-bit Systems
-
Finally, to Run Android App Inventor on Shell:
aiStarter
-
Getting-Started App Inventor Example with Hello-World
Now Thanks MIT App Inventor you can Getting-Started Easily with Android App Creation Xubuntu Linux.