GNU/Linux Ubuntu 18.04 Installing Oracle JDK 7 – QuickStart Guide
Hi! The Tutorial shows you Step-by-Step How to Install Oracle-Sun Java SE JDK 7 in Ubuntu 18.04 Bionic LTS GNU/Linux Desktop/Server.
And the Oracle Java JDK 7 for Ubuntu Bionic includes Tools useful for developing and testing Programs written in the Java programming language and running on the Java platform.
Moreover, included inside this guide you find instructions on How to Getting-Started with Java JDK 7 Development on Ubuntu and Install Eclipse Java IDE.
Especially relevant: to SetUp Oracle JDK 7 on Ubuntu you will need to Use the update-alternatives Tool to Update your System Java to Oracle JDK 1.7.
Finally, the Guide includes detailed instructions to Getting Started with Oracle JDK 7 on Ubuntu 18.04.

1. Launching Terminal
First, Open a Terminal Shell emulator window
Ctrl+Alt+t on Desktop
(Press “Enter” to Execute Commands).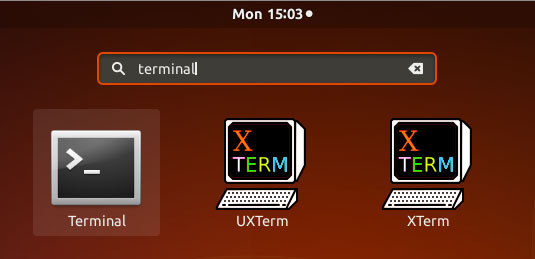
Contents