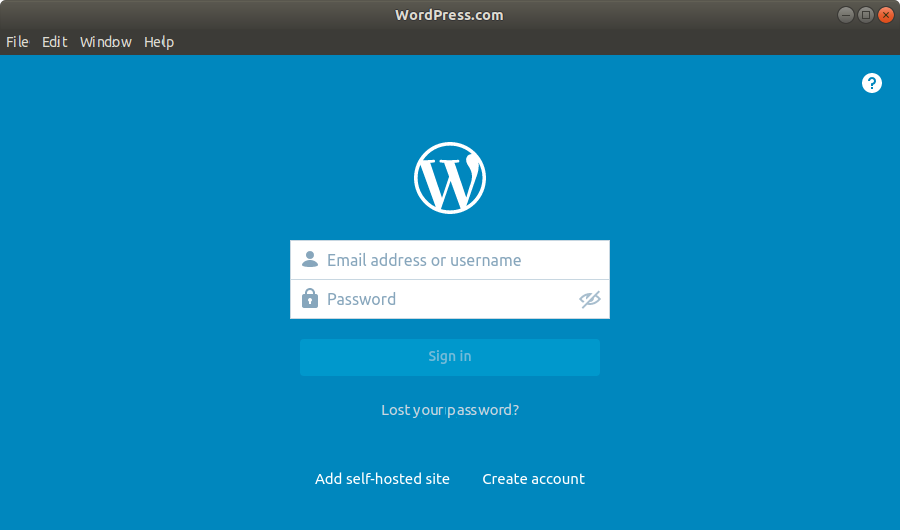
GNU/Linux CentOS 7 WordPress desktop App Guide
How to Install WordPress desktop App CentOS 7 64-bit GNU/Linux.
And this is the Official WordPress Client for CentOS 7.
Especially relevant is how with this App you can Connect either a WordPress.com Blog or also a Self-Hosted one.
Especially relevant: to Connect a Self-Hosted Website you need to Make Use of the JetPack Plugin.
So moreover included inside this post you’ll also find instructions on How to Make the Initial Setup and Add a Self-Hosted Blog.
Finally, please be aware that the App posting Format may not be compatible with your Website Template.

-
1. Launching Terminal
Open a Terminal window
(Press “Enter” to Execute Commands)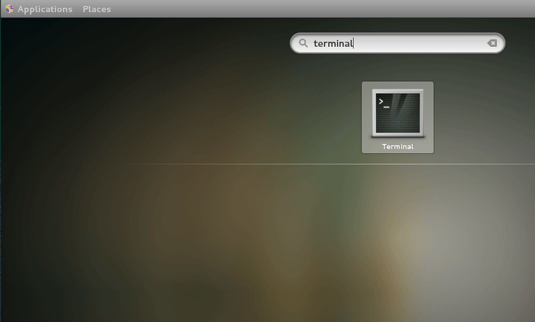
-
2. Downloading WordPress Client for CentOS
Download WordPress desktop App for CentOS GNU/Linux
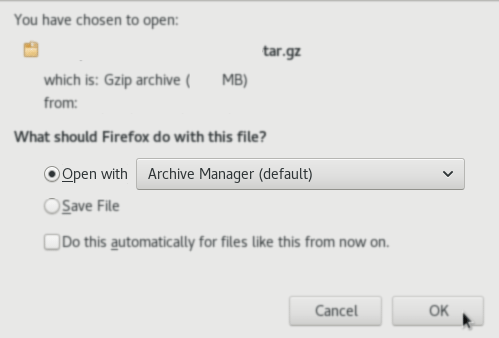
If possible on Prompt Select directly “Open with Archive Manager”!
-
3. Extracting WordPress desktop Client Archive
Then Extract WordPress desktop Client tar.gz into /tmp Directory
If it does Not Open automatically then Double-Click on File Manager.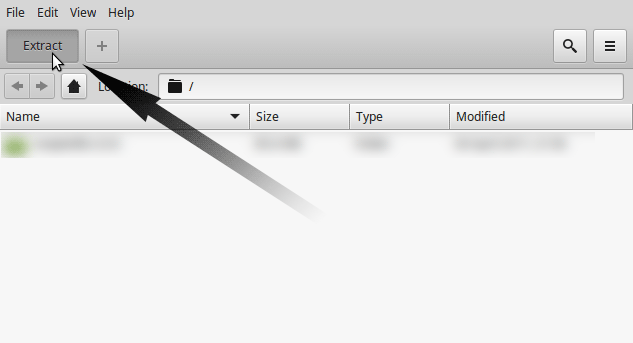
Or from Command Line:tar xvzf ~/Downloads/*.tar.gz -C /tmp/
-
4. Giving Execution Permission
Give Execution Permissions
sudo chmod -R +x /tmp/wordpress*
-
5. Relocating WordPress desktop Client Folder
Relocate the WordPress desktop Client Directory
sudo mv /tmp/WordPress* /opt/wordpress
Instead, for a Local Installation simply put Stuff into your Home and then Set Symlink accordly.
-
6. Making a Symlink
Instructions to Make a Shortcut for Easy Launching
sudo ln -s /opt/wordpress/WordPress.com[Release] /usr/local/bin/wordpress
Just Substitute in above Command [Release] with the real WordPress App one.
-
7. WordPress desktop App Getting Started Guide
How to Getting Started with WordPress App on Ubuntu
-
8. Making a Menu App Launcher
How to Create a Launcher on Main Menu
